Authentication
Connecting to Cloud Versions of Foundation
The below provides an overview of how to connect to cloud or hosted versions of Foundation. It takes about 15-30 minutes to complete.
Step 1: Create Agave User in Foundation
The first step is to create a dedicated User to connect to Agave Sync. We recommend using a dedicated User for the integration, so you can track activity from your integration with your PM system.
To create a dedicated User:
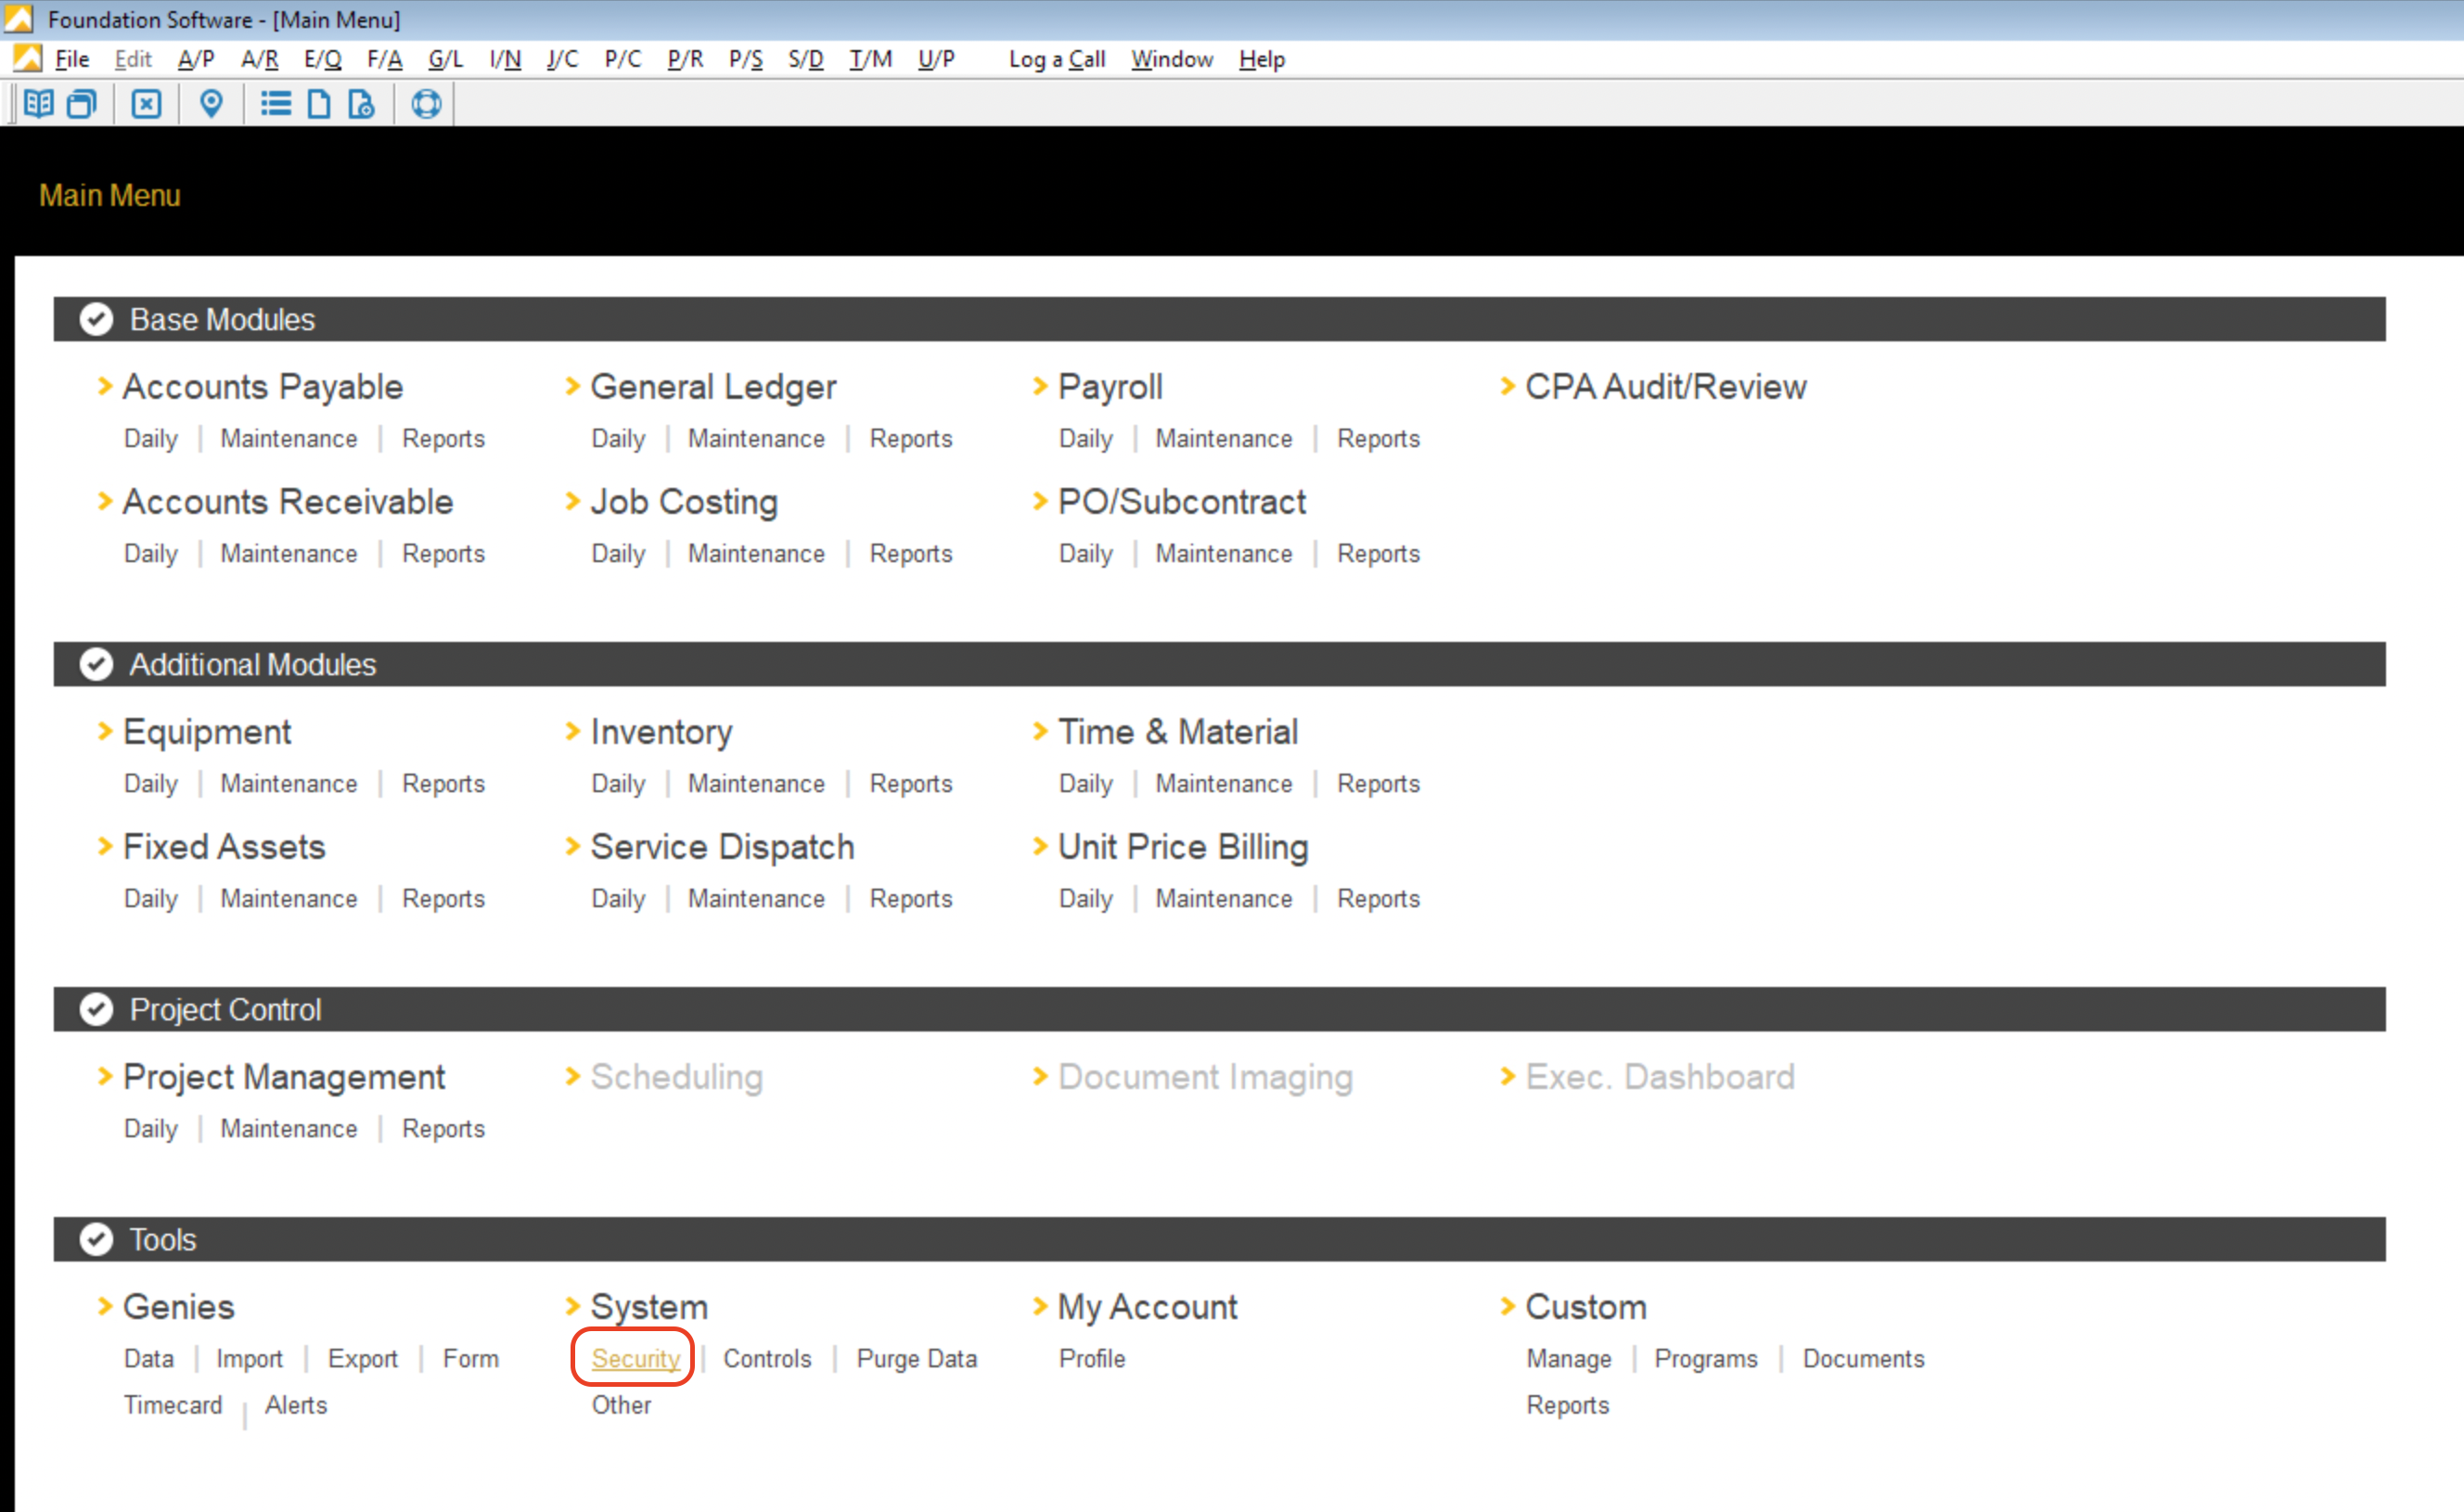
- From the Foundation main menu, under Tools and System, select Security:
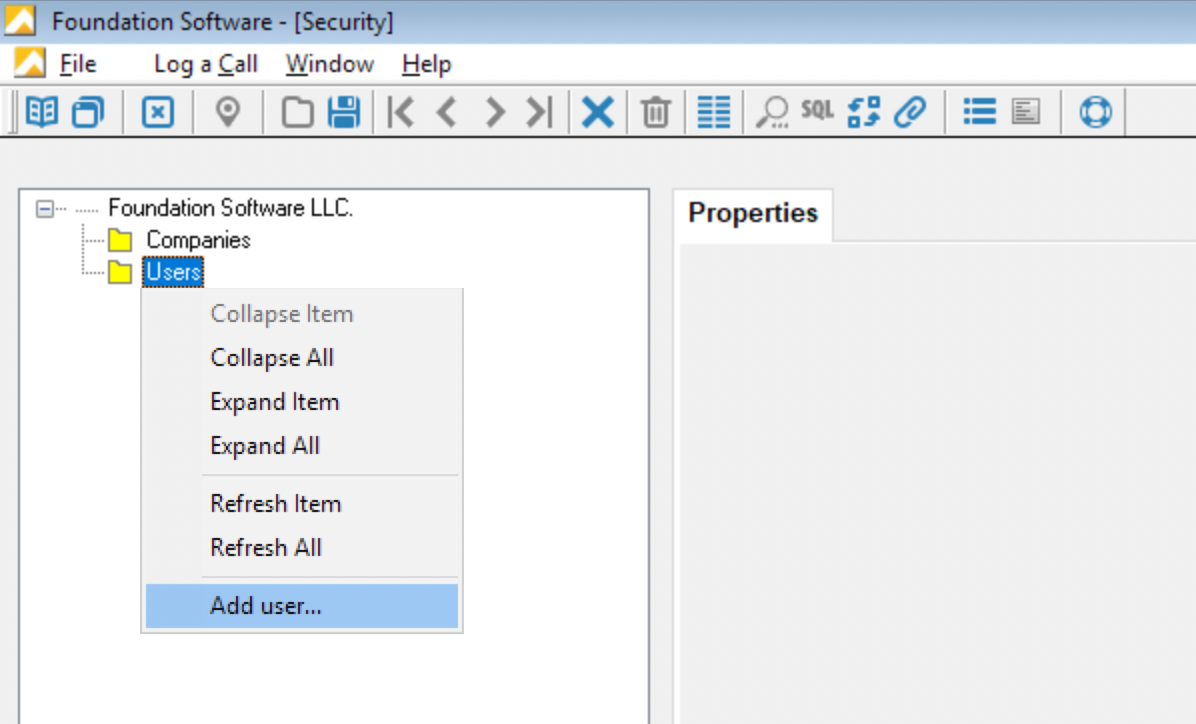
- Press the + sign, then Foundation Software LLC --> Companies --> Users. Right click the Users folder and select Add user...:
- Add a User ID named "Agave", select your Foundation Company, and make sure this user has ODBC Access enabled. Then press Save.
Make sure to use "Agave" for the User ID since this is a requirement from Foundation.
Your password must meet the following criteria:
- Be at least 8 characters long
- Contain at least one letter, one number, and one special character (e.g. !, @, #, $, etc.)
- Not be part of an online data leak
- We use Have I Been Pwned to securely check your password, without sending us your actual password to their servers. See here for more information.

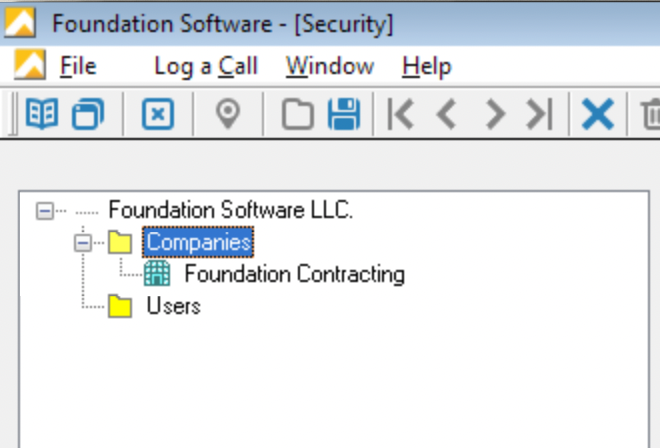
- Double-click on Companies, and then press your Company:
- Press the Users tab. Right click in the User column and select Add:
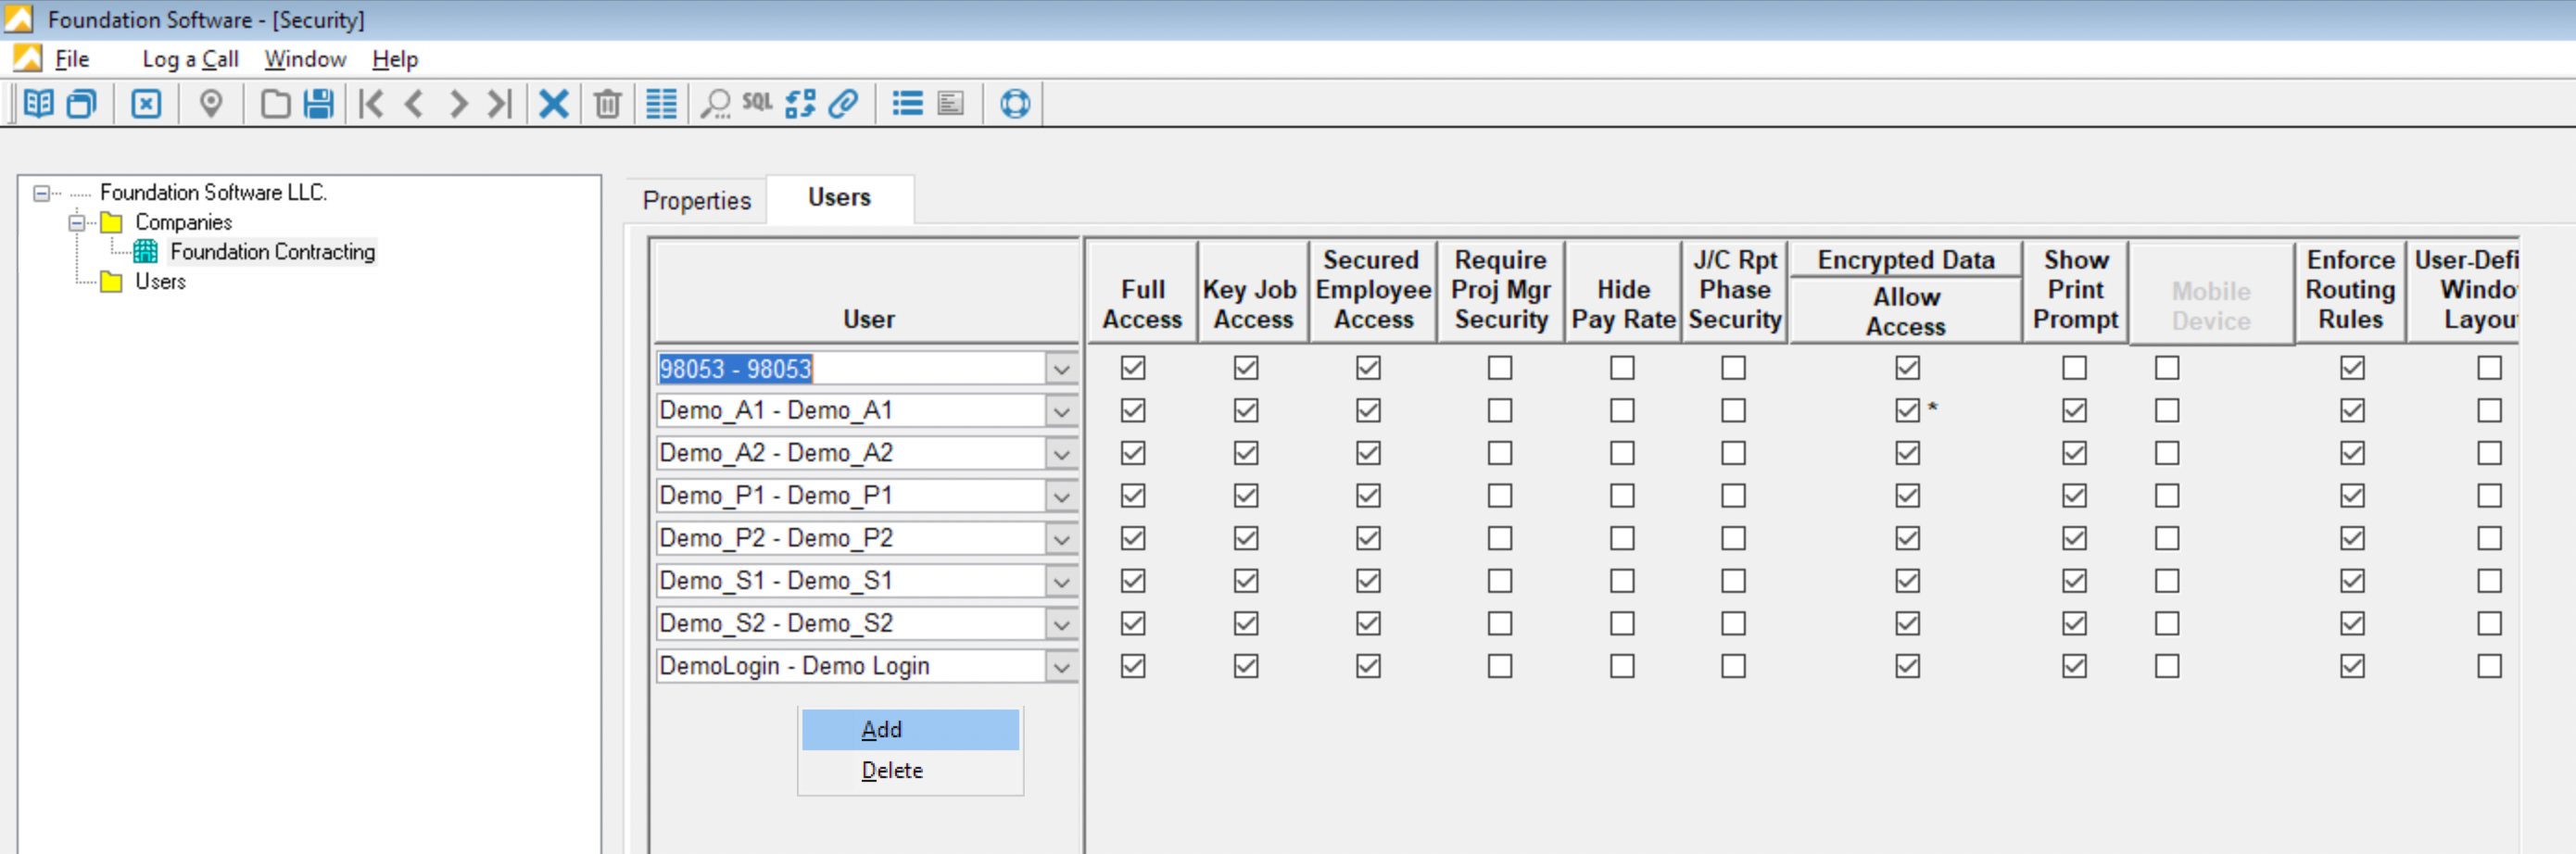
- Enter the "Agave" User, and then press Close. Press Yes when prompted to save your changes.

Step 2: Email the Foundation Team Requesting Permissions to Import Data
If you plan to sync data to Foundation for the following data records, you will need to request Foundation add the necessary permissions for your Agave User:
| Data Record | Foundation Tables or Stored Procedures |
|---|---|
| AR Invoices | ar_invoice, sp_GetNextNumber |
| AR Invoice (GL) Line Items | ar_invoice_gl |
| Customers | sp_insert_update_customers |
| Employees | sp_insert_update_employees |
| Equipment Timecard Entries | pending_eq_usage |
| Job Cost Period Quantities | pending_job_quantity |
| Projects (Jobs) | sp_insert_update_jobs |
| Purchase Orders, Subcontracts, and Subcontract Change Orders | pending_po_sync_header |
| Purchase Orders, Subcontracts, and Subcontract Change Order Line Items | pending_po_sync_detail |
| Timecard Entries | pending_timecards |
Afterwards, you can email Tom Steinke at Foundation (tbs@foundationsoft.com) the below. Note, this is a crucial step as getting these permissions allows us to write data to these tables. We also recommend CCing your Agave Account Manager on the email so they can follow-up if necessary.
Subject: [Your Company Name] - Whitelist Tables/Stored Procedures
Hi Tom - hope you're well. Would you be able to whitelist the following Foundation Database and User to allow writing data to the following tables/stored procedures?
- Database: [Input your database name. Note this will start with "Cas_"]
- User: Agave
- Tables/Stored Procedures:
- ar_invoice
- ar_invoice_gl
- sp_insert_update_jobs
- sp_insert_update_customers
- sp_insert_update_employees
- sp_GetNextNumber
- pending_timecards
- pending_po_sync_header
- pending_po_sync_detail
- pending_eq_usage
- pending_job_quantity
How do I determine my database name?
To determine your Foundation database name:
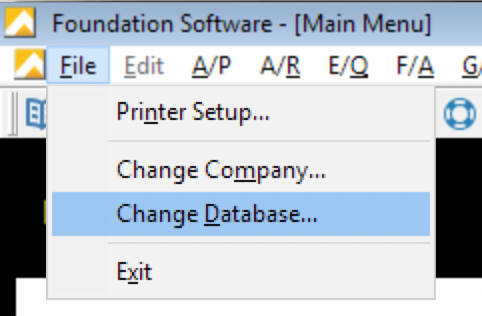
- From anywhere in Foundation, select File--> Change Database:
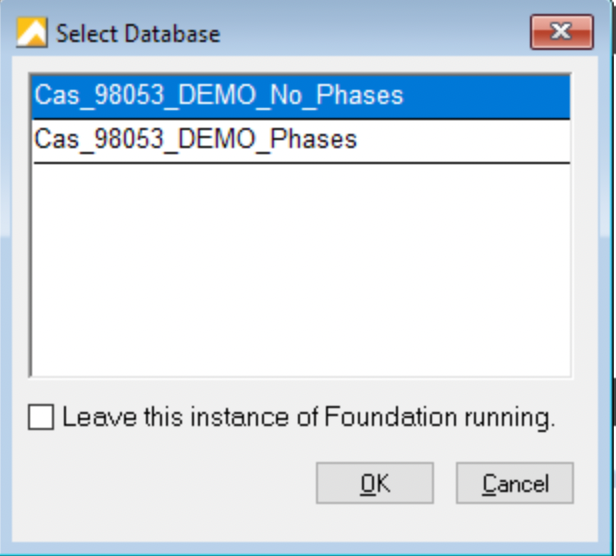
- A list of your database names will appear:
Step 3: Notify Agave to Make the Connection
Notify your Agave Account Manager that you are ready to connect Foundation to your PM System, and provide them with the following information:
- Hostname: this is the hostname of the Foundation database. For hosted Foundation instances, input "sql.foundationsoft.com".
- Port: this is the port that enables Agave to communicate with the Foundation Database. Note, this should always default to 9000.
- Database: this is the name of the Foundation database.
- Username: the username must be for a registered Foundation User.
- Password: this is the password for the registered Foundation User.
Connecting to On-prem Versions of Foundation
The below provides an overview of how to connect to on-premise installations of Foundation. It takes about 15-30 minutes to complete, unless you need to upgrade to more recent versions of Microsoft Server and Microsoft SQL Server Management Studio which might take a few hours to complete.
Step 1: Confirm you are on the Correct Versions of Microsoft Server and Microsoft SQL Server Management Studio
Agave Sync supports the following versions of Windows Server and Microsoft SQL Server Management Studio:
- Windows 10
- Windows 11
- Windows Server 2016
- Windows Server 2019
- Windows Server 2022
Agave follows Microsoft's Product Lifecycle policy for Windows.
As of October 2023, Windows 8.1 and Windows Server 2012 have reached end of support and do not receive security updates. If you are using either version, we recommend upgrading immediately. Agave does not support these versions of Windows.
For more information, see related Microsoft announcement.
Step 2: Whitelist Agave's Static IP Addresses
You will need to request your IT team whitelist Agave's static IPs both at the firewall and SQL Server level:
13.58.14.24018.219.160.983.143.37.24
This allows our servers to communicate with the Foundation database hosted in your network.
If you are unable to authenticate with Agave Sync even after adding the above static IP addresses, we recommend following our guide on troubleshooting common issues with on-premise connections.
If your firewall also restricts outbound traffic, you will need to whitelist the following domains on port 443 (HTTPS/WSS) to allow real-time communication with Agave Sync:
| Domain | Purpose |
|---|---|
rest.ably.io | REST API requests |
realtime.ably.io | Realtime WebSocket connections |
a.ably-realtime.com | Fallback host |
b.ably-realtime.com | Fallback host |
c.ably-realtime.com | Fallback host |
d.ably-realtime.com | Fallback host |
e.ably-realtime.com | Fallback host |
internet-up.ably-realtime.com | Connectivity check |
ws-up.ably-realtime.com | WebSocket connectivity check |
For forward compatibility, we also recommend whitelisting the following CNAME targets that these domains resolve to:
main.realtime.ably.netmain.a.fallback.ably-realtime.commain.b.fallback.ably-realtime.commain.c.fallback.ably-realtime.commain.d.fallback.ably-realtime.commain.e.fallback.ably-realtime.com
Ably does not publish static IP addresses, as their service uses dynamically assigned IPs. Domain-based whitelisting is the recommended approach.
Step 3: Create Agave User in Foundation
The next step is to create a dedicated User to connect to Agave Sync. We recommend using a dedicated User for the integration, so you can track activity from your integration with your PM system.
To create a dedicated User:
- From the Foundation main menu, under Tools and System, select Security:
- Press the + sign, then Foundation Software LLC --> Companies --> Users. Right click the Users folder and select Add user...:
- Add a User ID named "Agave", select your Foundation Company, and make sure this user has ODBC Access enabled. Then press Save.
Make sure to use "Agave" for the User ID since this is a requirement from Foundation.
Your password must meet the following criteria:
- Be at least 8 characters long
- Contain at least one letter, one number, and one special character (e.g. !, @, #, $, etc.)
- Not be part of an online data leak
- We use Have I Been Pwned to securely check your password, without sending us your actual password to their servers. See here for more information.
- Double-click on Companies, and then press your Company:
- Press the Users tab. Right click in the User column and select Add:
- Enter the "Agave" User, and then press Close. Press Yes when prompted to save your changes.
Step 4: Confirm the "Agave" User has "db_datareader" and "db_datawriter" Permissions
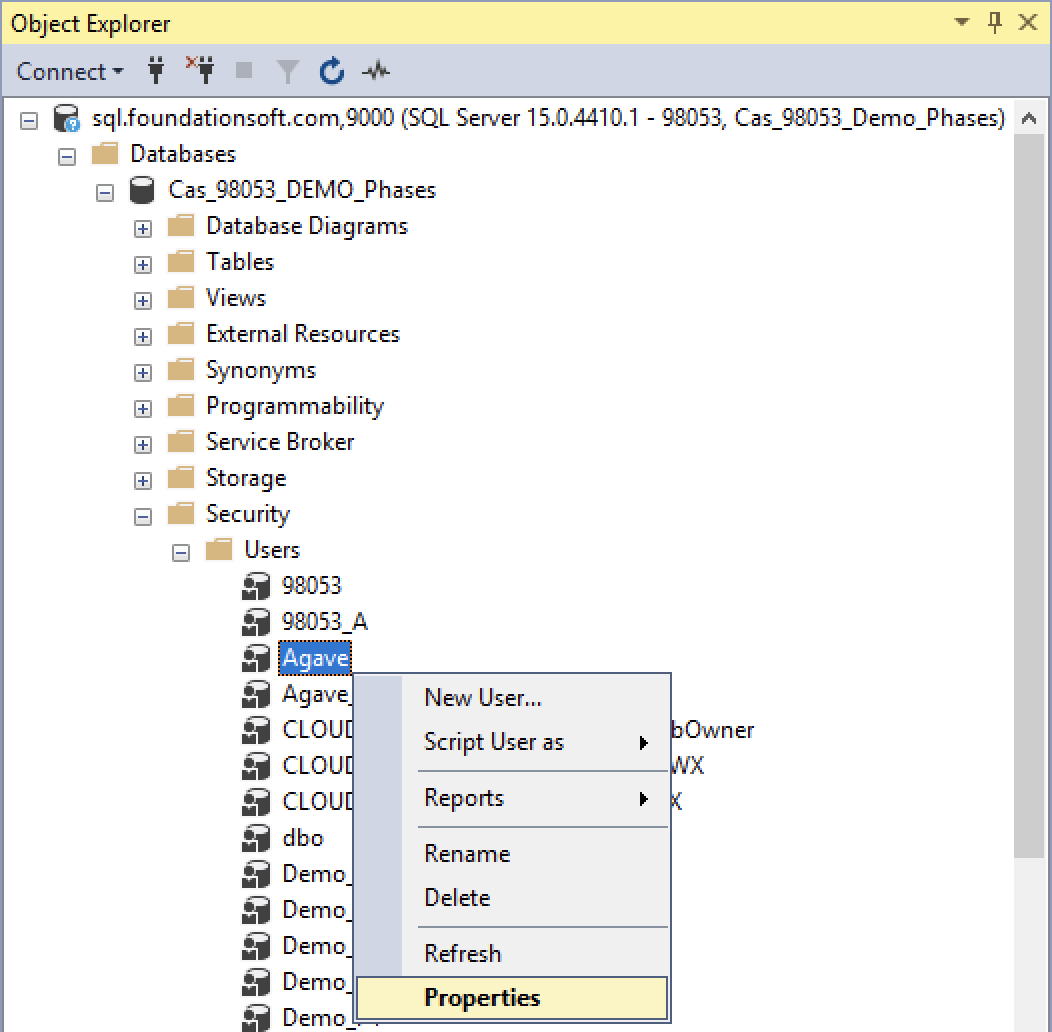
- Open Microsoft SQL Server Management Studio and connect to your Foundation Database:
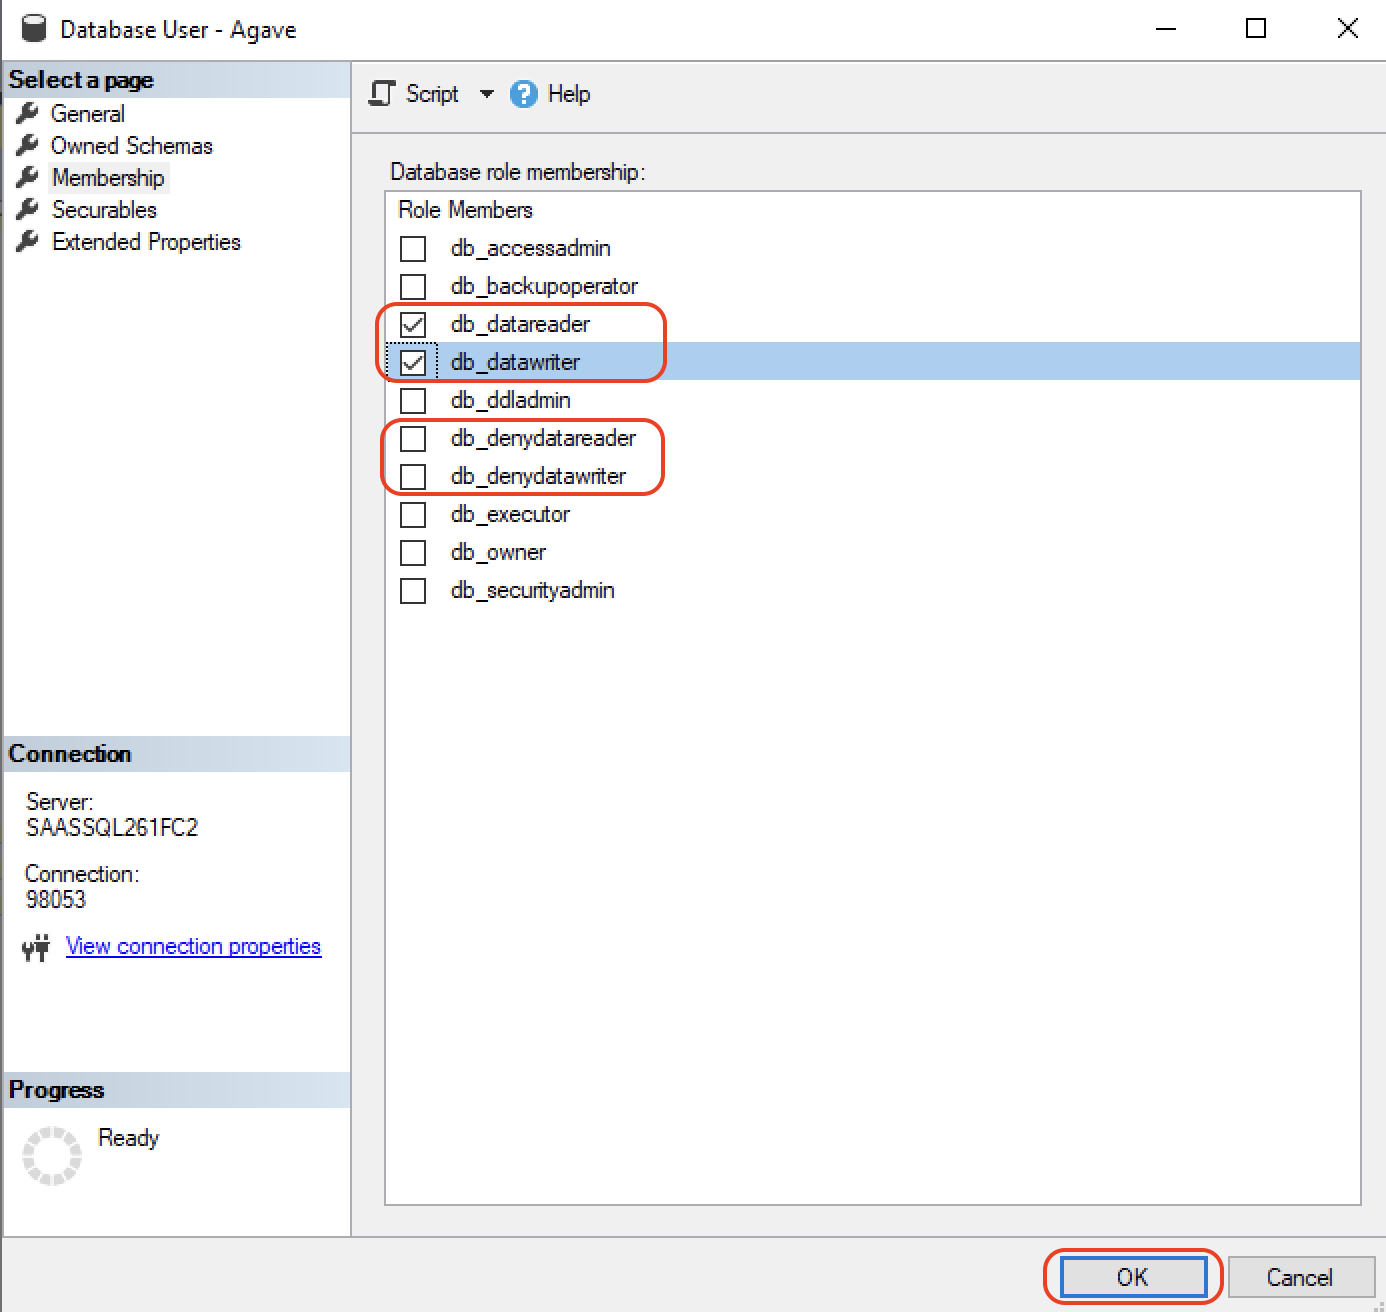
- Go to Security --> Users. Right click the relevant User (i.e. "Agave") and select Properties:
- Go to Membership (or User Mapping) and confirm they have the following database role membership for the database you are using:
- db_datareader
- db_datawriter
Make sure that the options for db_denydatareader and db_denydatawriter are unchecked as well.
Step 5: Grant Write Permissions for the "Agave" User
If you intend to write data back to Foundation for the following data records, you will need to add CREATE and UPDATE permissions for the following tables:
| Data Record | Foundation Tables |
|---|---|
| AR Invoices | ar_invoice |
| AR Invoice (GL) Line Items | ar_invoice_gl |
| AR Cash Receipts | pending_ar_cash |
| Equipment Timecard Entries | pending_eq_usage |
| Job Cost Period Quantities | pending_job_quantity |
| Purchase Orders, Subcontracts, and Subcontract Change Orders | pending_po_sync_header |
| Purchase Orders, Subcontracts, and Subcontract Change Order Line Items | pending_po_sync_item_detail |
| Timecard Entries | pending_timecards |
To grant permissions to these tables:
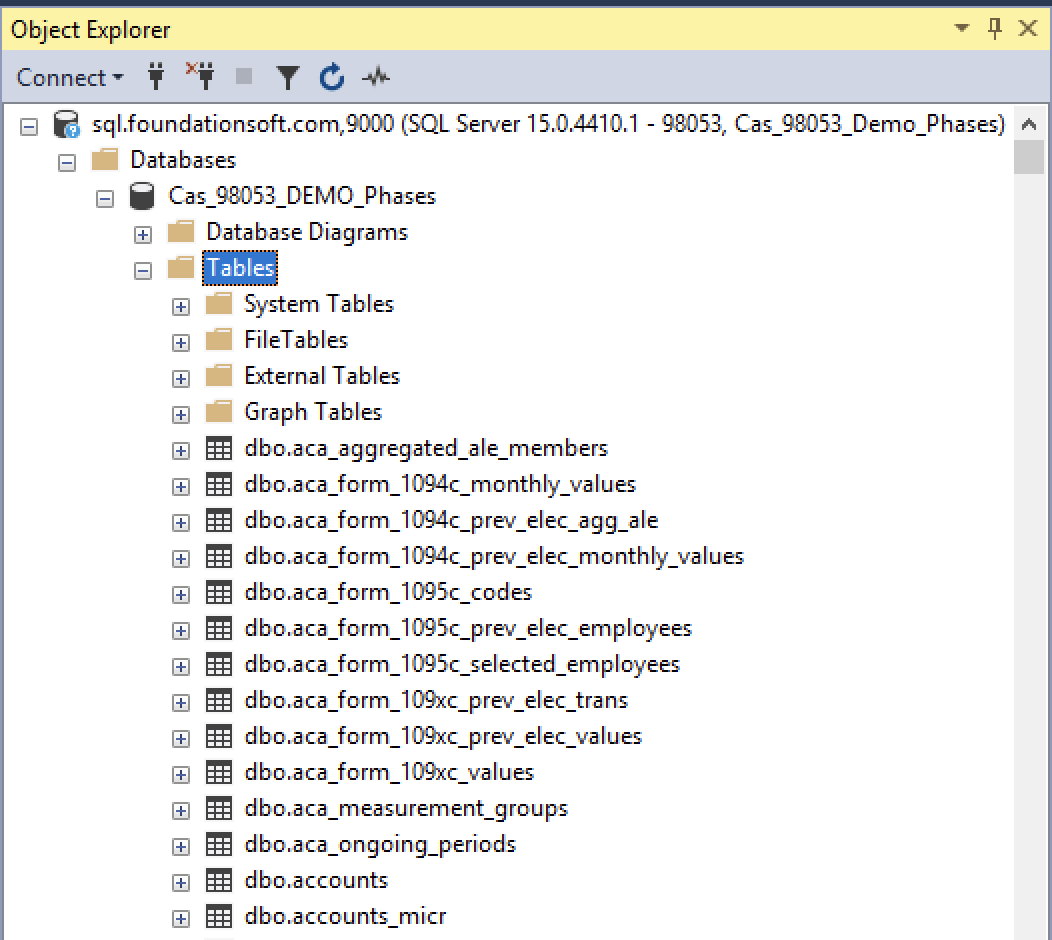
- Open the Tables directory, and scroll down to the relevant table (e.g.
pending_po_sync_header):
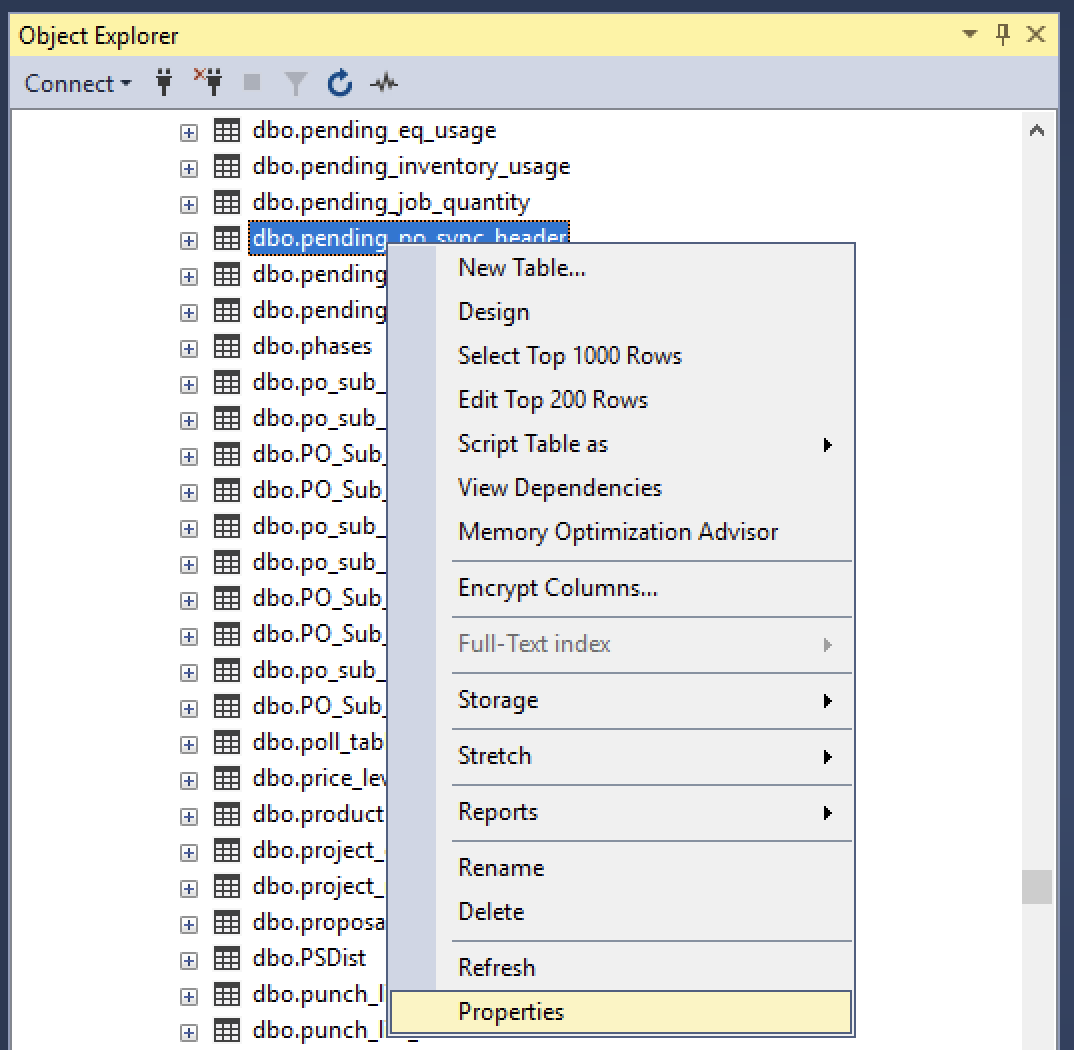
- Right click on the relevant table, and select Properties:
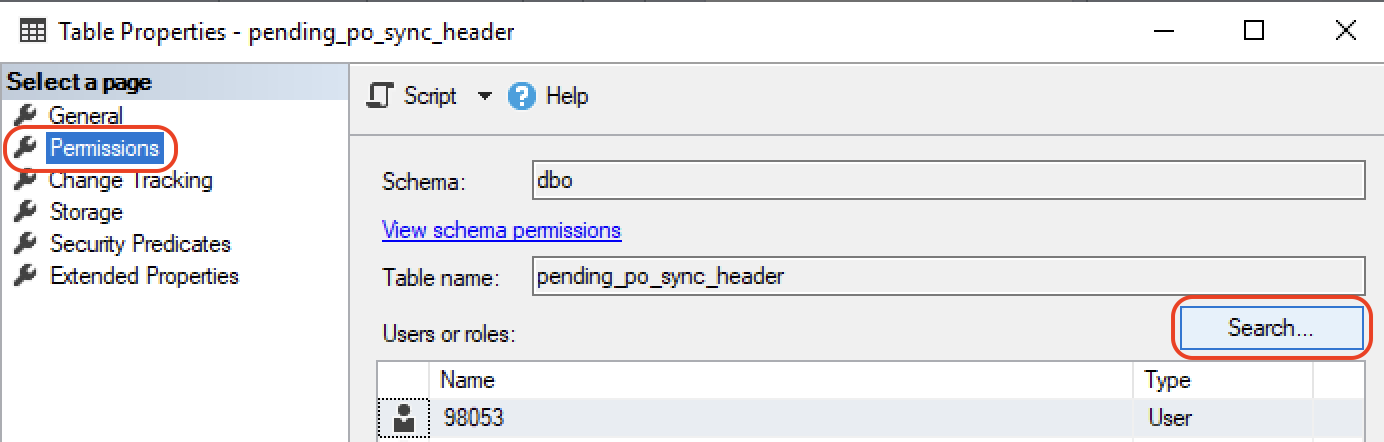
- Select Permissions and then Search:
- Type in "Agave" in the text box, and press Browse:
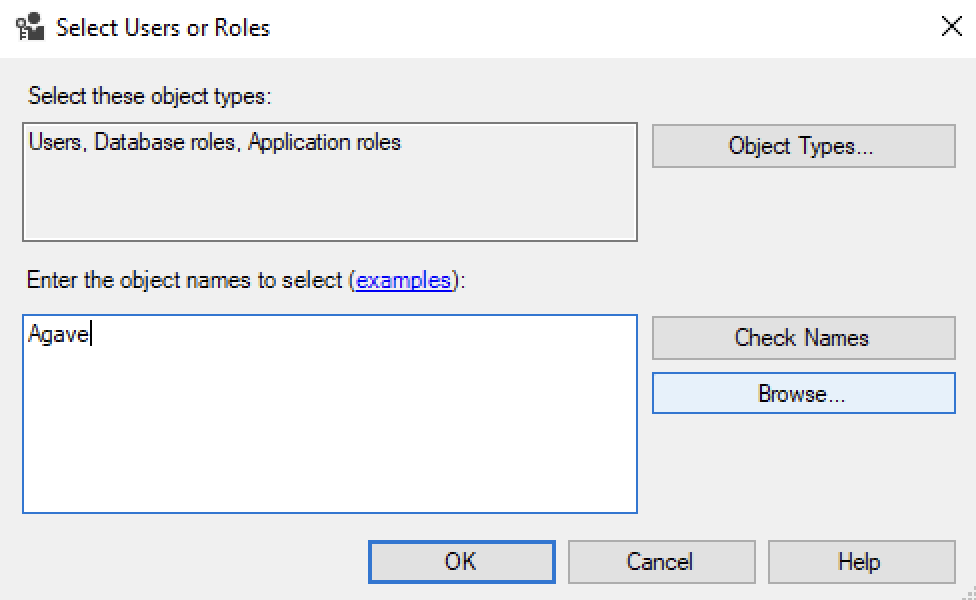
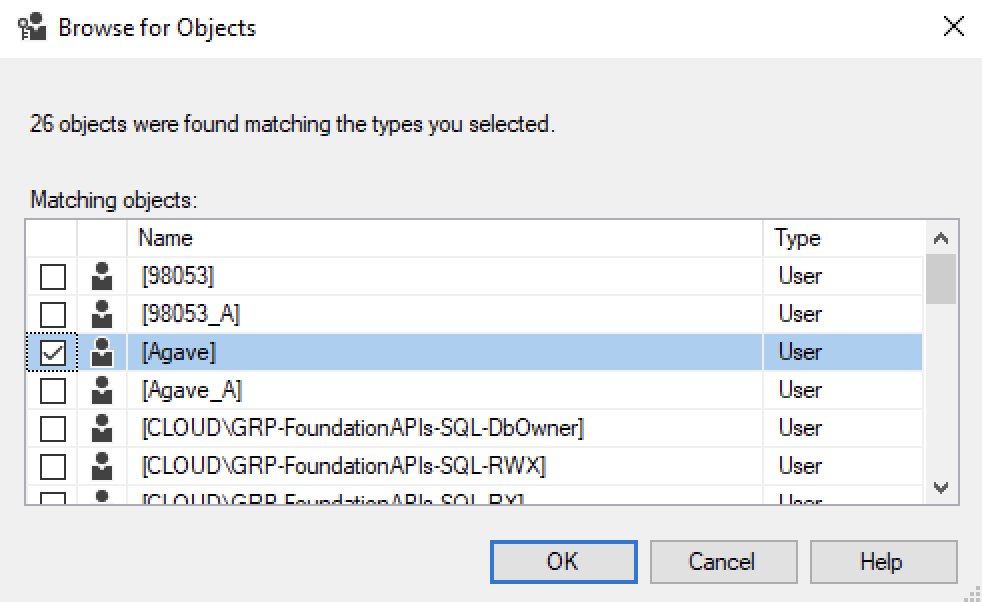
- Select the "Agave" User and press OK. Then press OK again:
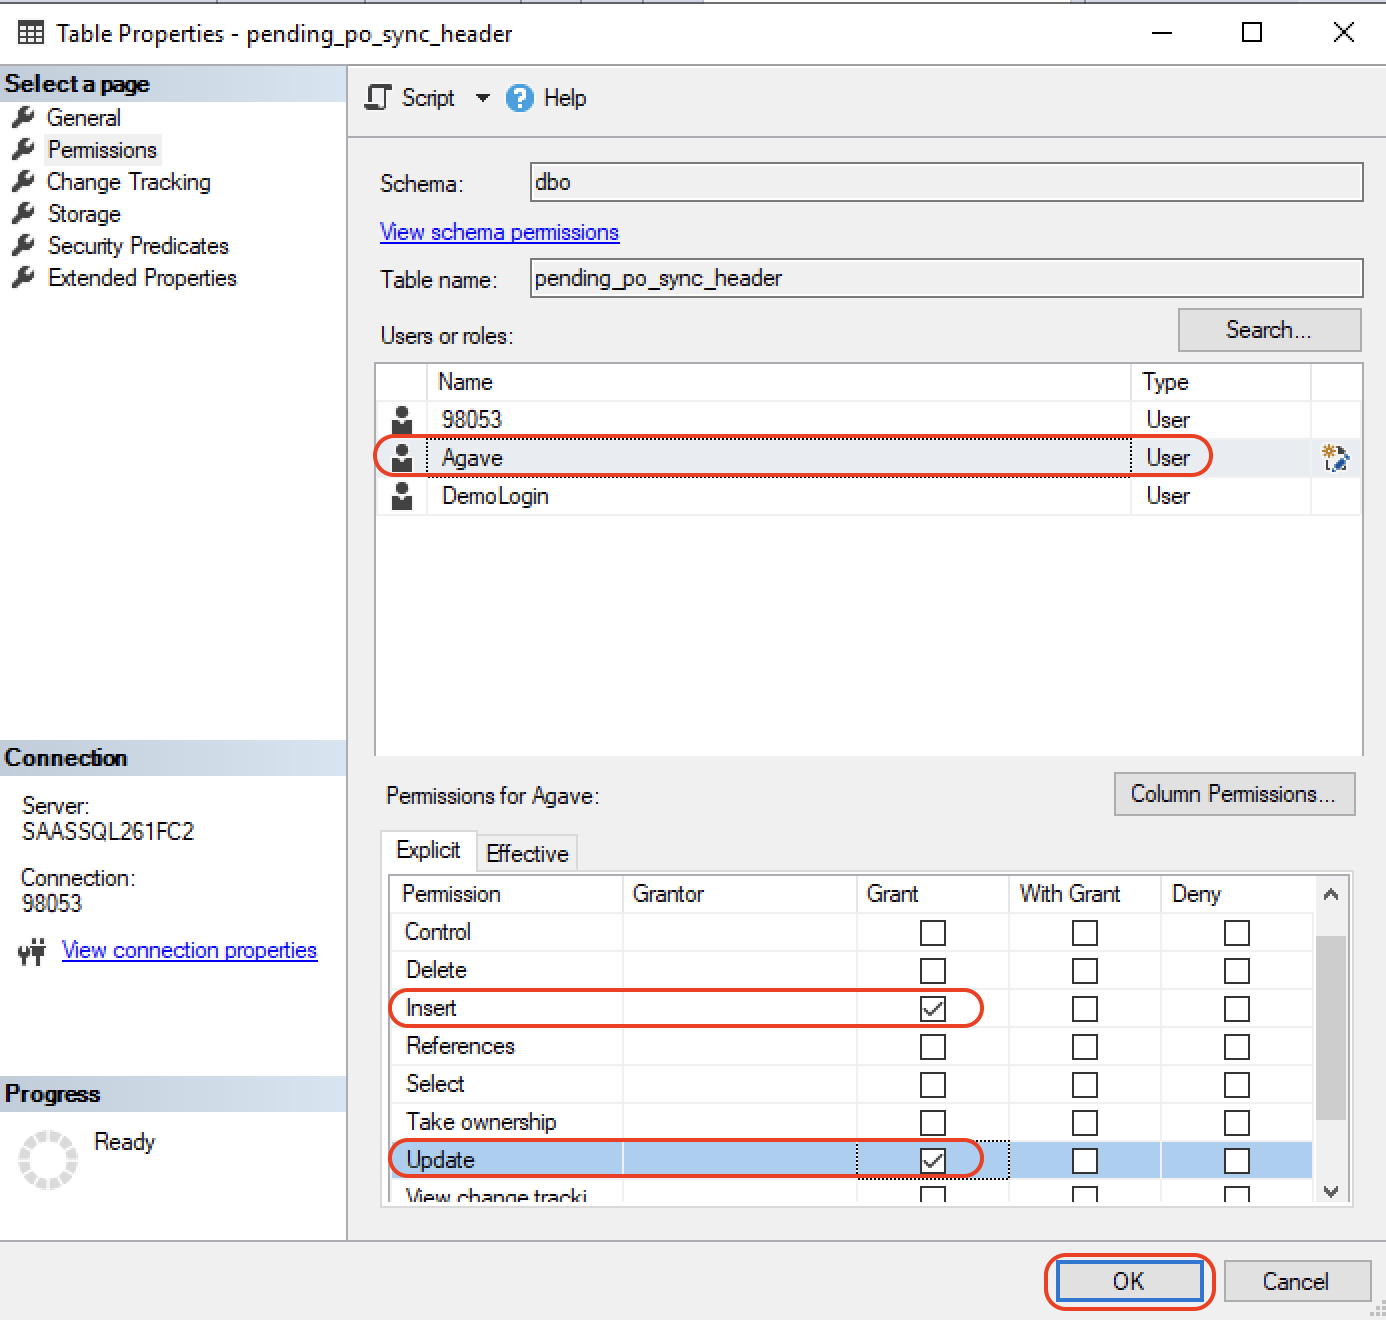
- Select the "Agave" User, and then select the Grant checkbox for the Insert and Update permissions. Then press OK:
Repeat the above step for each table you need access to.
Step 6: Grant Stored Procedure Permissions to the "Agave" User
If you intend to write data back to Foundation for the following data records, you will need to add EXECUTE permissions for the following stored procedures:
| Data Record | Foundation Stored Procedures |
|---|---|
| AR Invoices | sp_GetNextNumber |
| Customers | sp_insert_update_customers |
| Employees | sp_insert_update_employees |
| Projects (Jobs) | sp_insert_update_jobs |
To grant permissions to these stored procedures
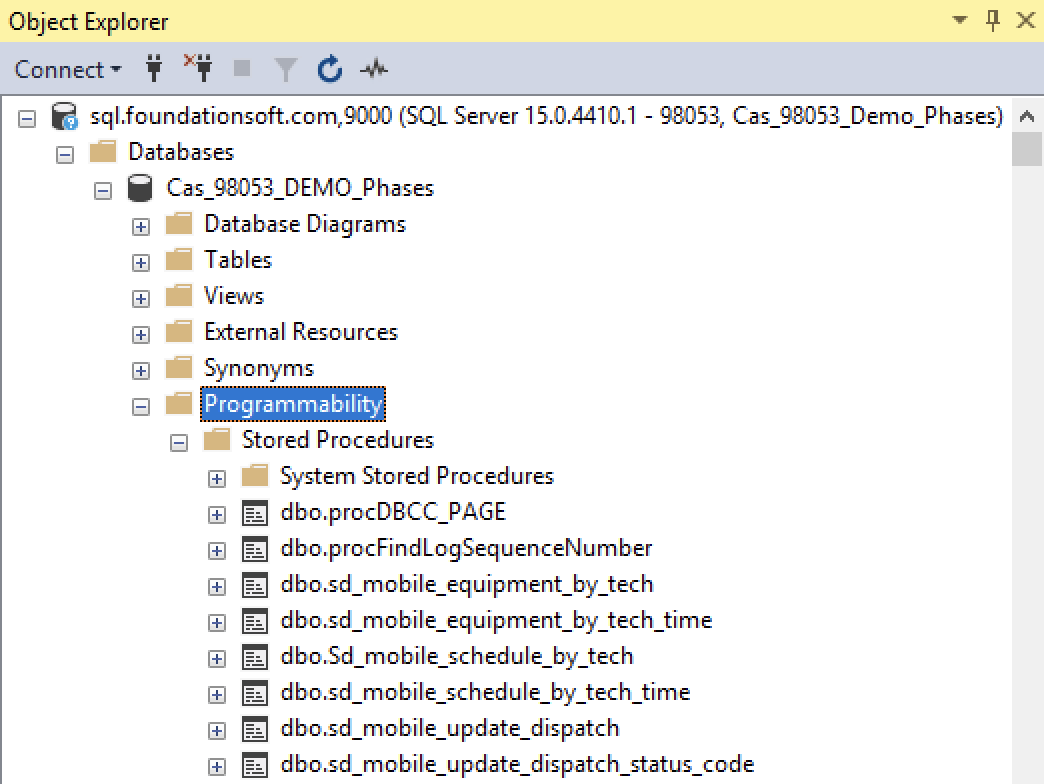
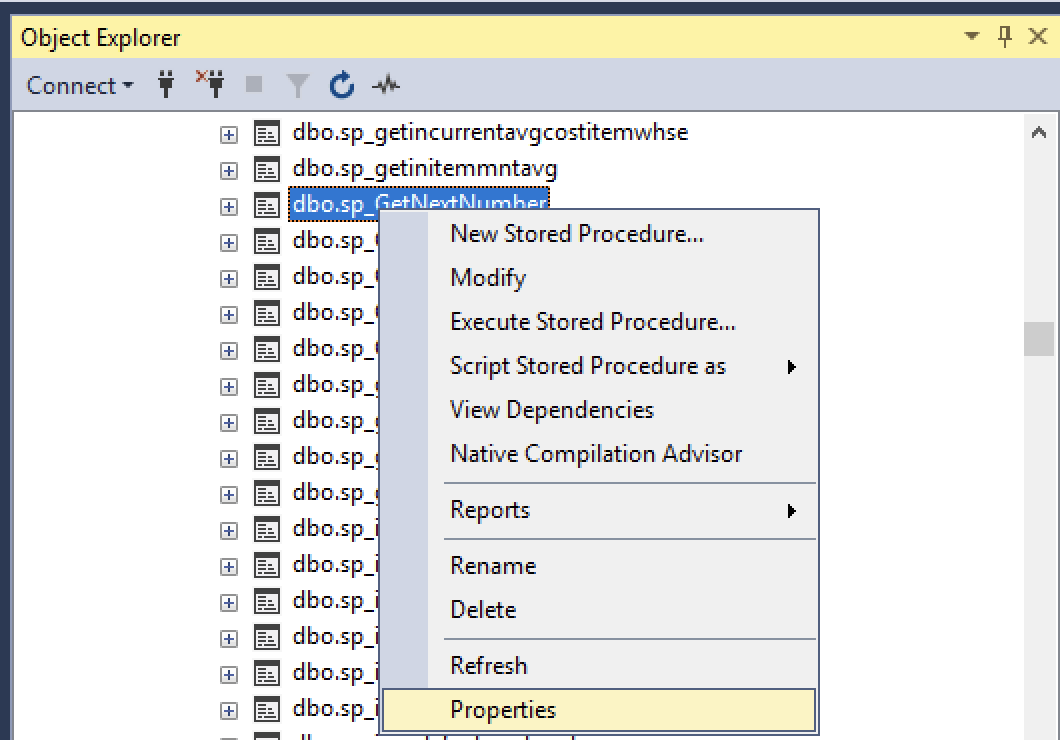
- Open the Programmability directory, expand Stored Procedures, and scroll down to the relevant stored procedure (e.g.
sp_GetNextNumber):
- Right click on the relevant stored procedure, and select Properties:
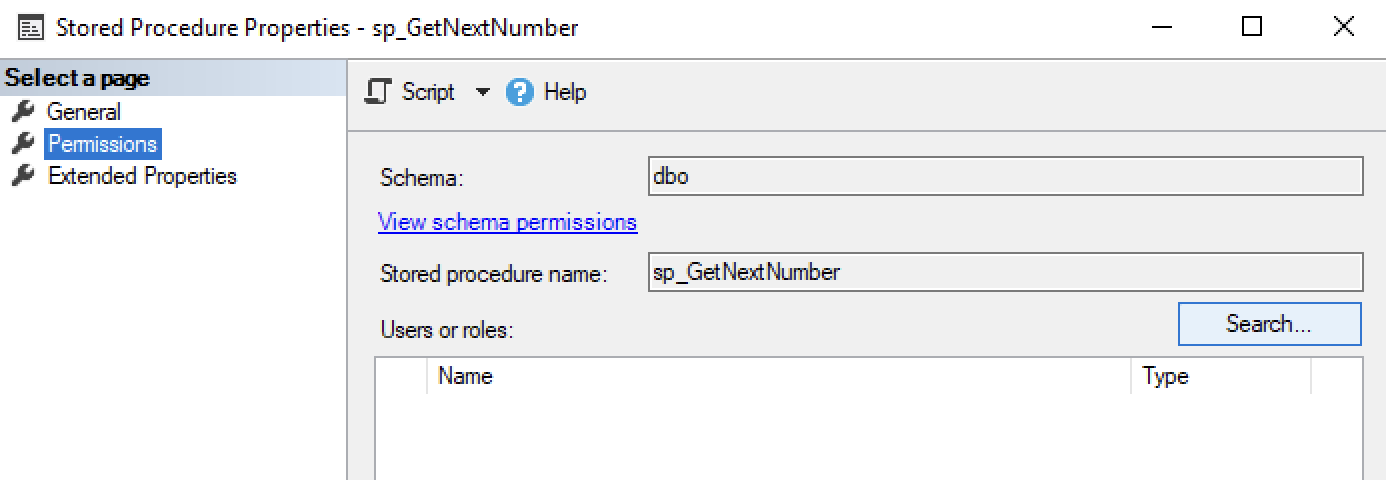
- Select Permissions and then Search:
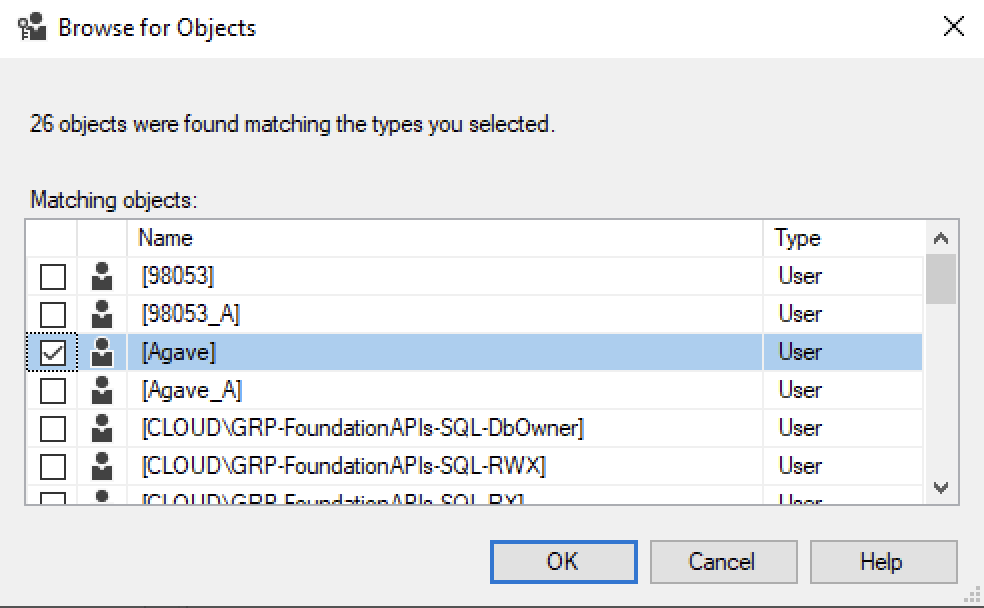
- Type in "Agave" in the text box, and press Browse:

- Select the "Agave" User and press OK. Then press OK again:
- Select the "Agave" User, and then select the Grant checkbox for the Execute permission. Then press OK:

Step 7: Notify Agave to Make the Connection
Notify your Agave Account Manager that you are ready to connect Foundation to your PM System, and provide them with the following information:
- Hostname: this is the hostname of the Foundation database. For hosted Foundation instances, input "sql.foundationsoft.com".
- Port: this is the port that enables Agave to communicate with the Foundation Database. Note, this should always default to 9000.
- Database: this is the name of the Foundation database.
- Username: the username must be for a registered Foundation User.
- Password: this is the password for the registered Foundation User.