Vendors
Agave Sync allows you to sync Foundation Vendors and Procore Companies.
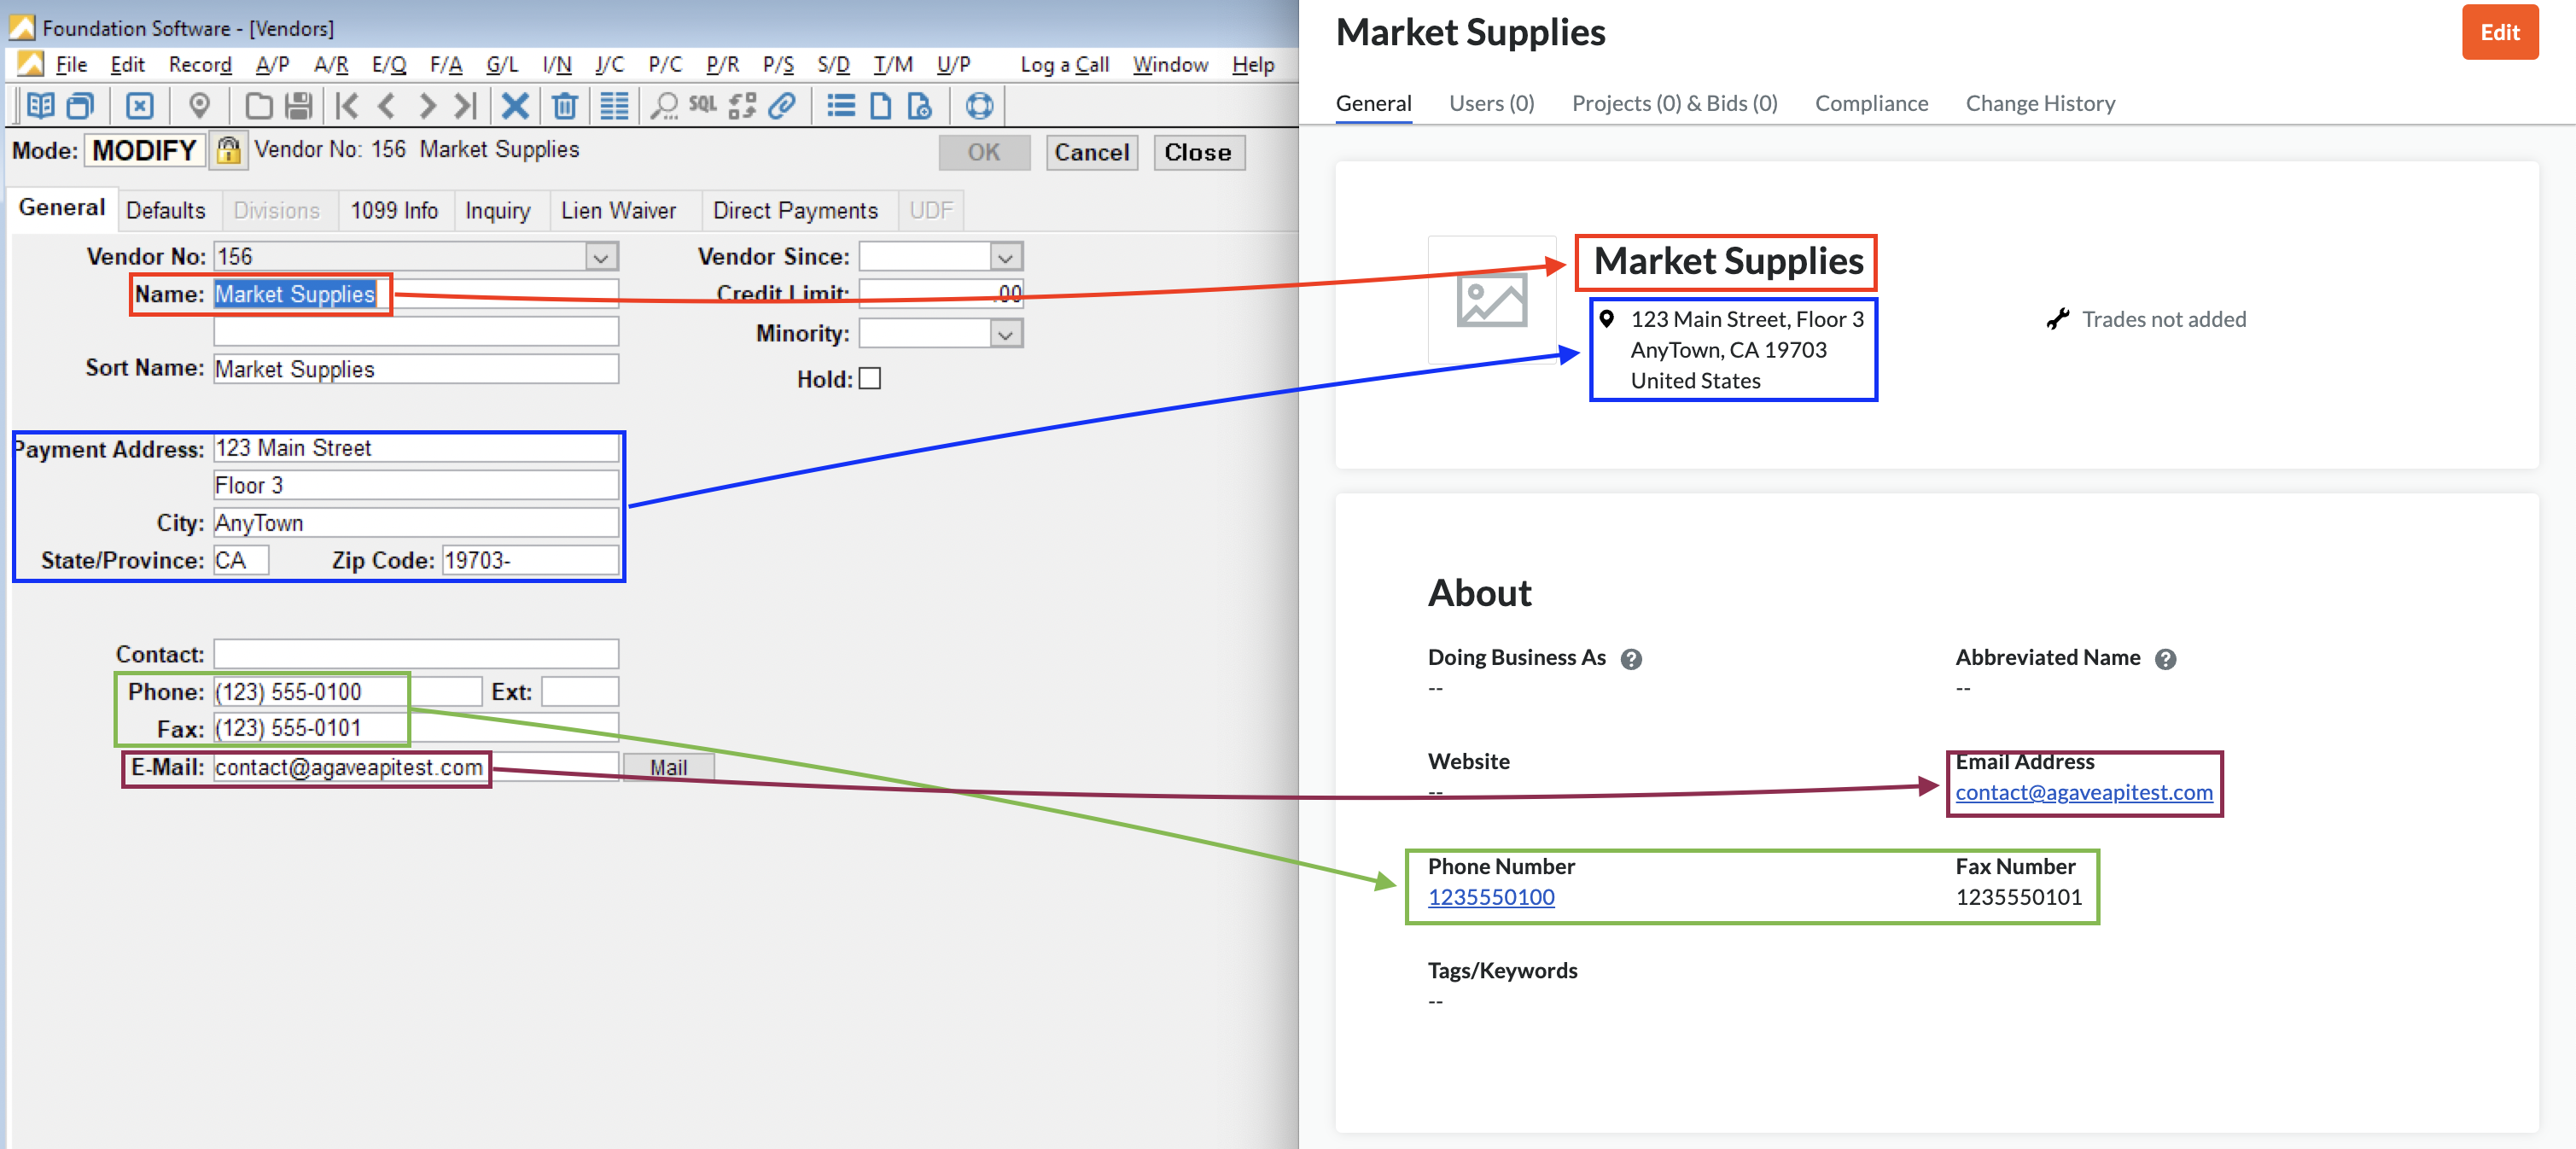
Visual Mapping
Video Tutorial
FAQs and Common Error Messages
Are there any pre-requisites to syncing Vendors?
If you would like to sync Vendors from Foundation to Procore, there are no pre-requisite steps. We recommend applying filters before enabling automatic sync though.
If you would like to sync Vendors from Procore to Foundation, you will need to complete the steps outlined below.
For enabling automatic sync of Vendors from Procore to Foundation, make sure you have applied the necessary filters to avoid syncing all Customers in Procore as Vendors in Foundation.
What fields does Agave Sync "Auto-link" on?
Agave Sync will auto-link on the following fields for Vendors:
- Name
- Address
- Code/Number
- Phone
- Tax ID
Can Agave Sync write custom fields to Procore Vendors?
No - at the moment, this is a limitation with Procore where Procore does not allow for custom fields on “Company” records.
How do we differentiate between Vendors and Customers in Procore?
Procore does not have a way to differentiate between Vendors and Customers at the moment. However, Agave Sync can apply a suffix (e.g. of "(Vendor)") to Vendors to differentiate them if you like.
How do I deactivate Vendors?
You may unintentionally sync Vendors to Procore. Instead of manually deactivating each Vendor, you can use Agave Sync to do so in bulk.
To deactivate Vendors you have synced to Procore:
-
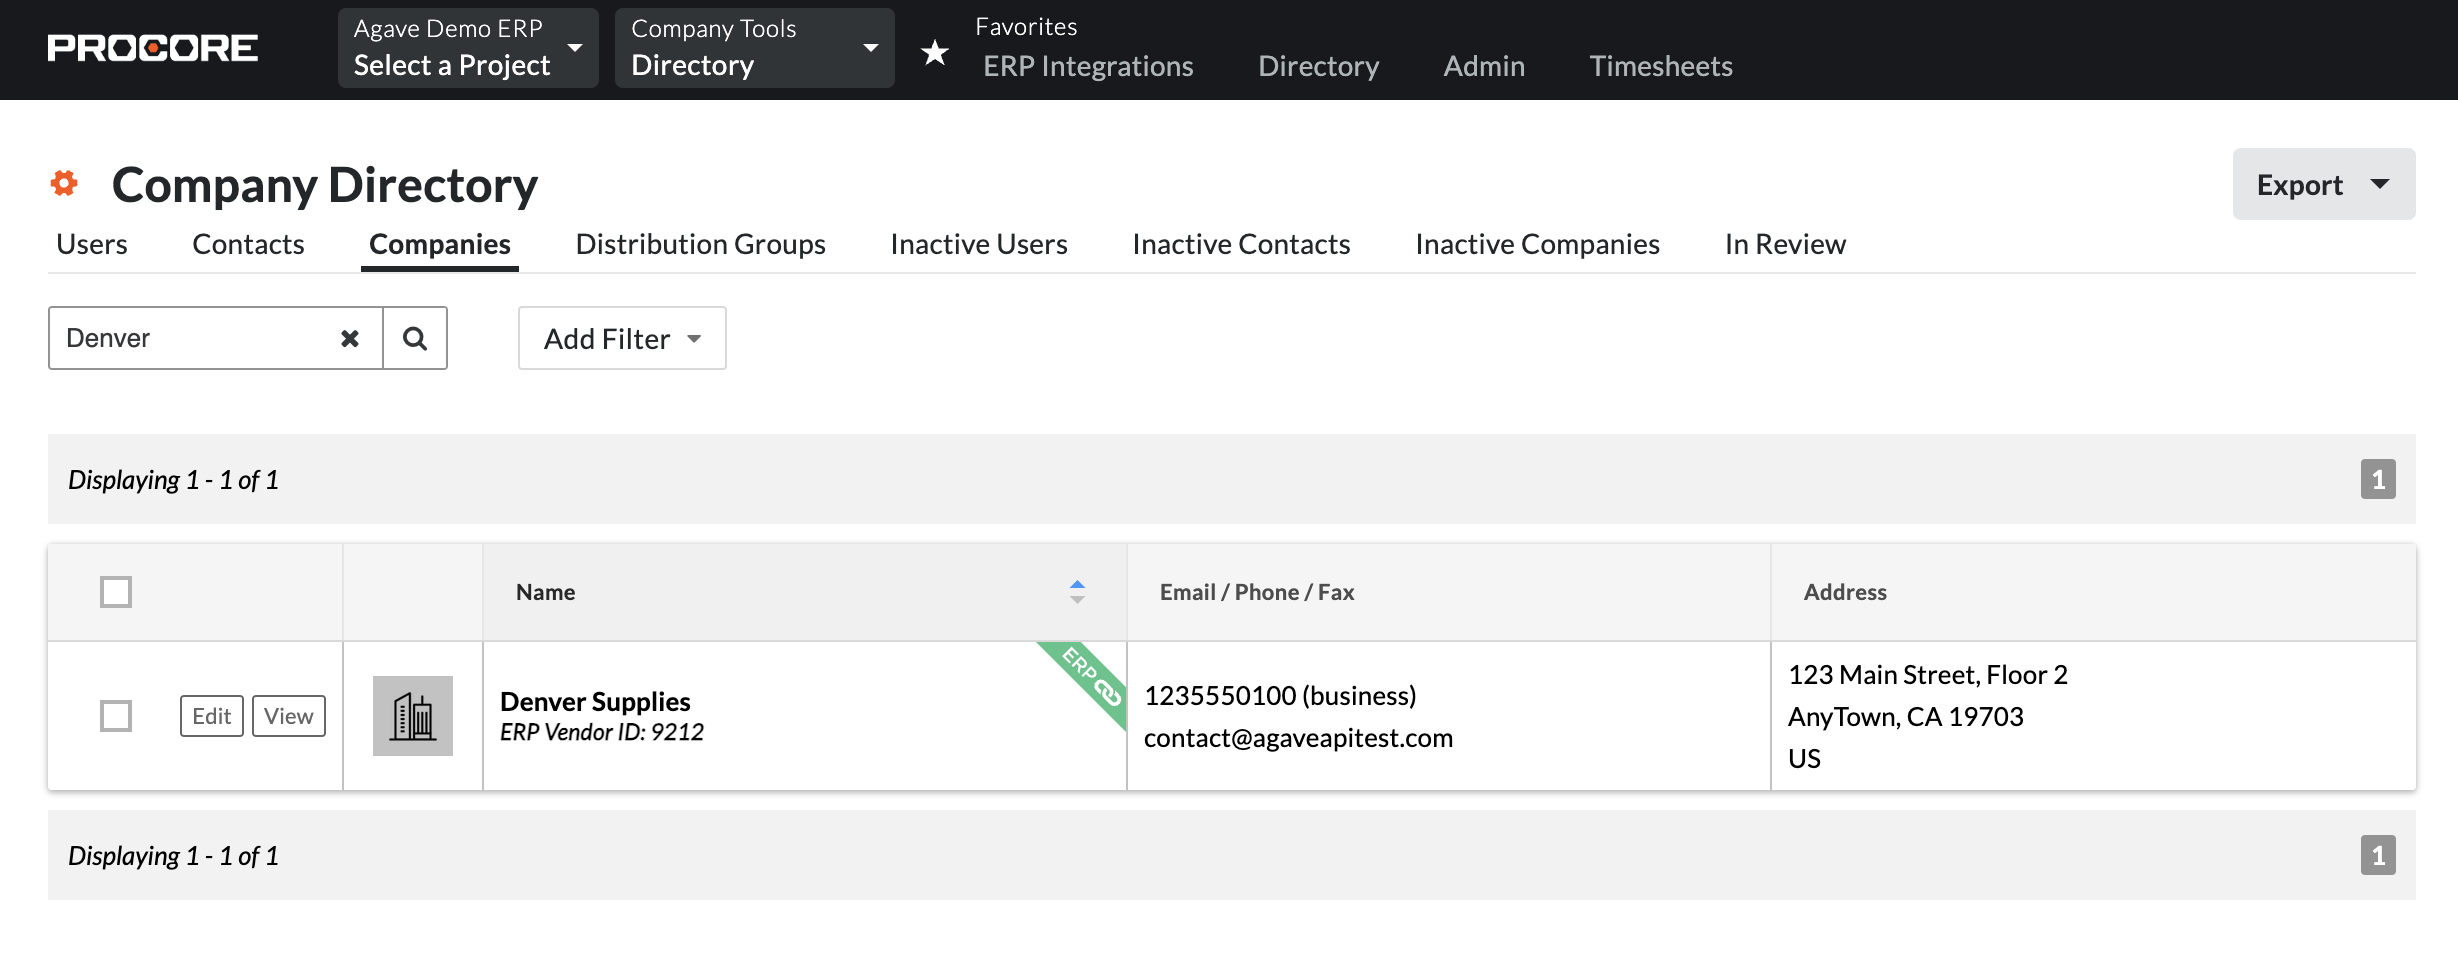
Identify the Vendor you would like to deactivate:
-
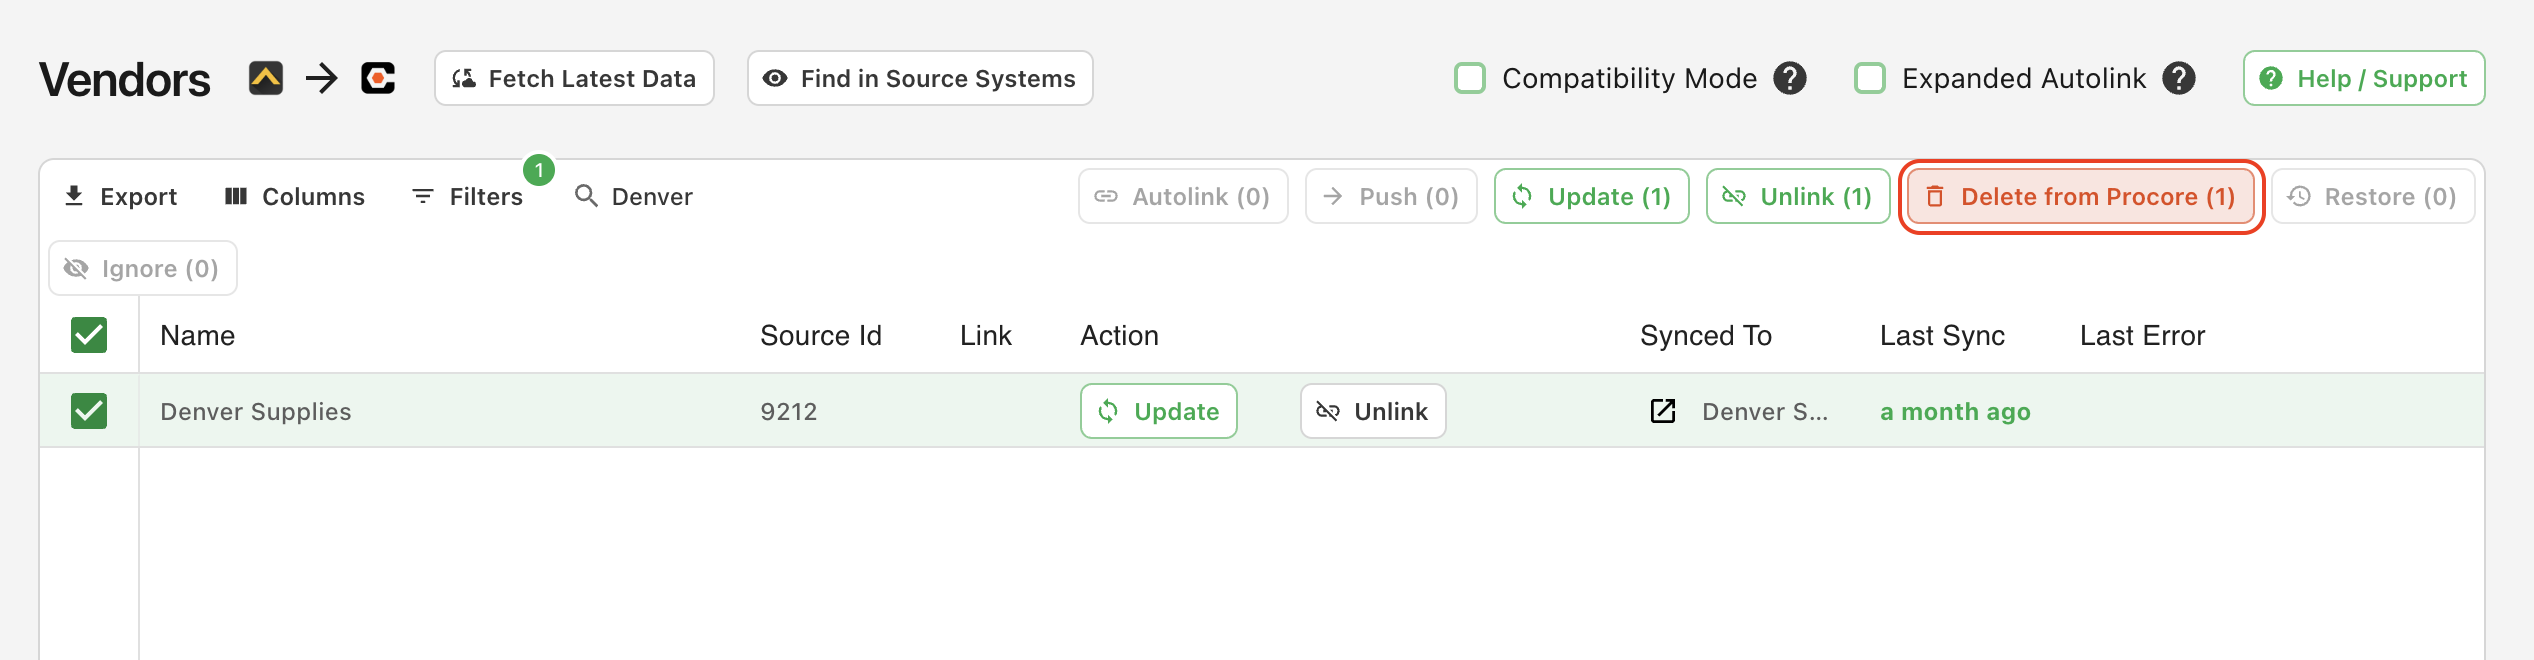
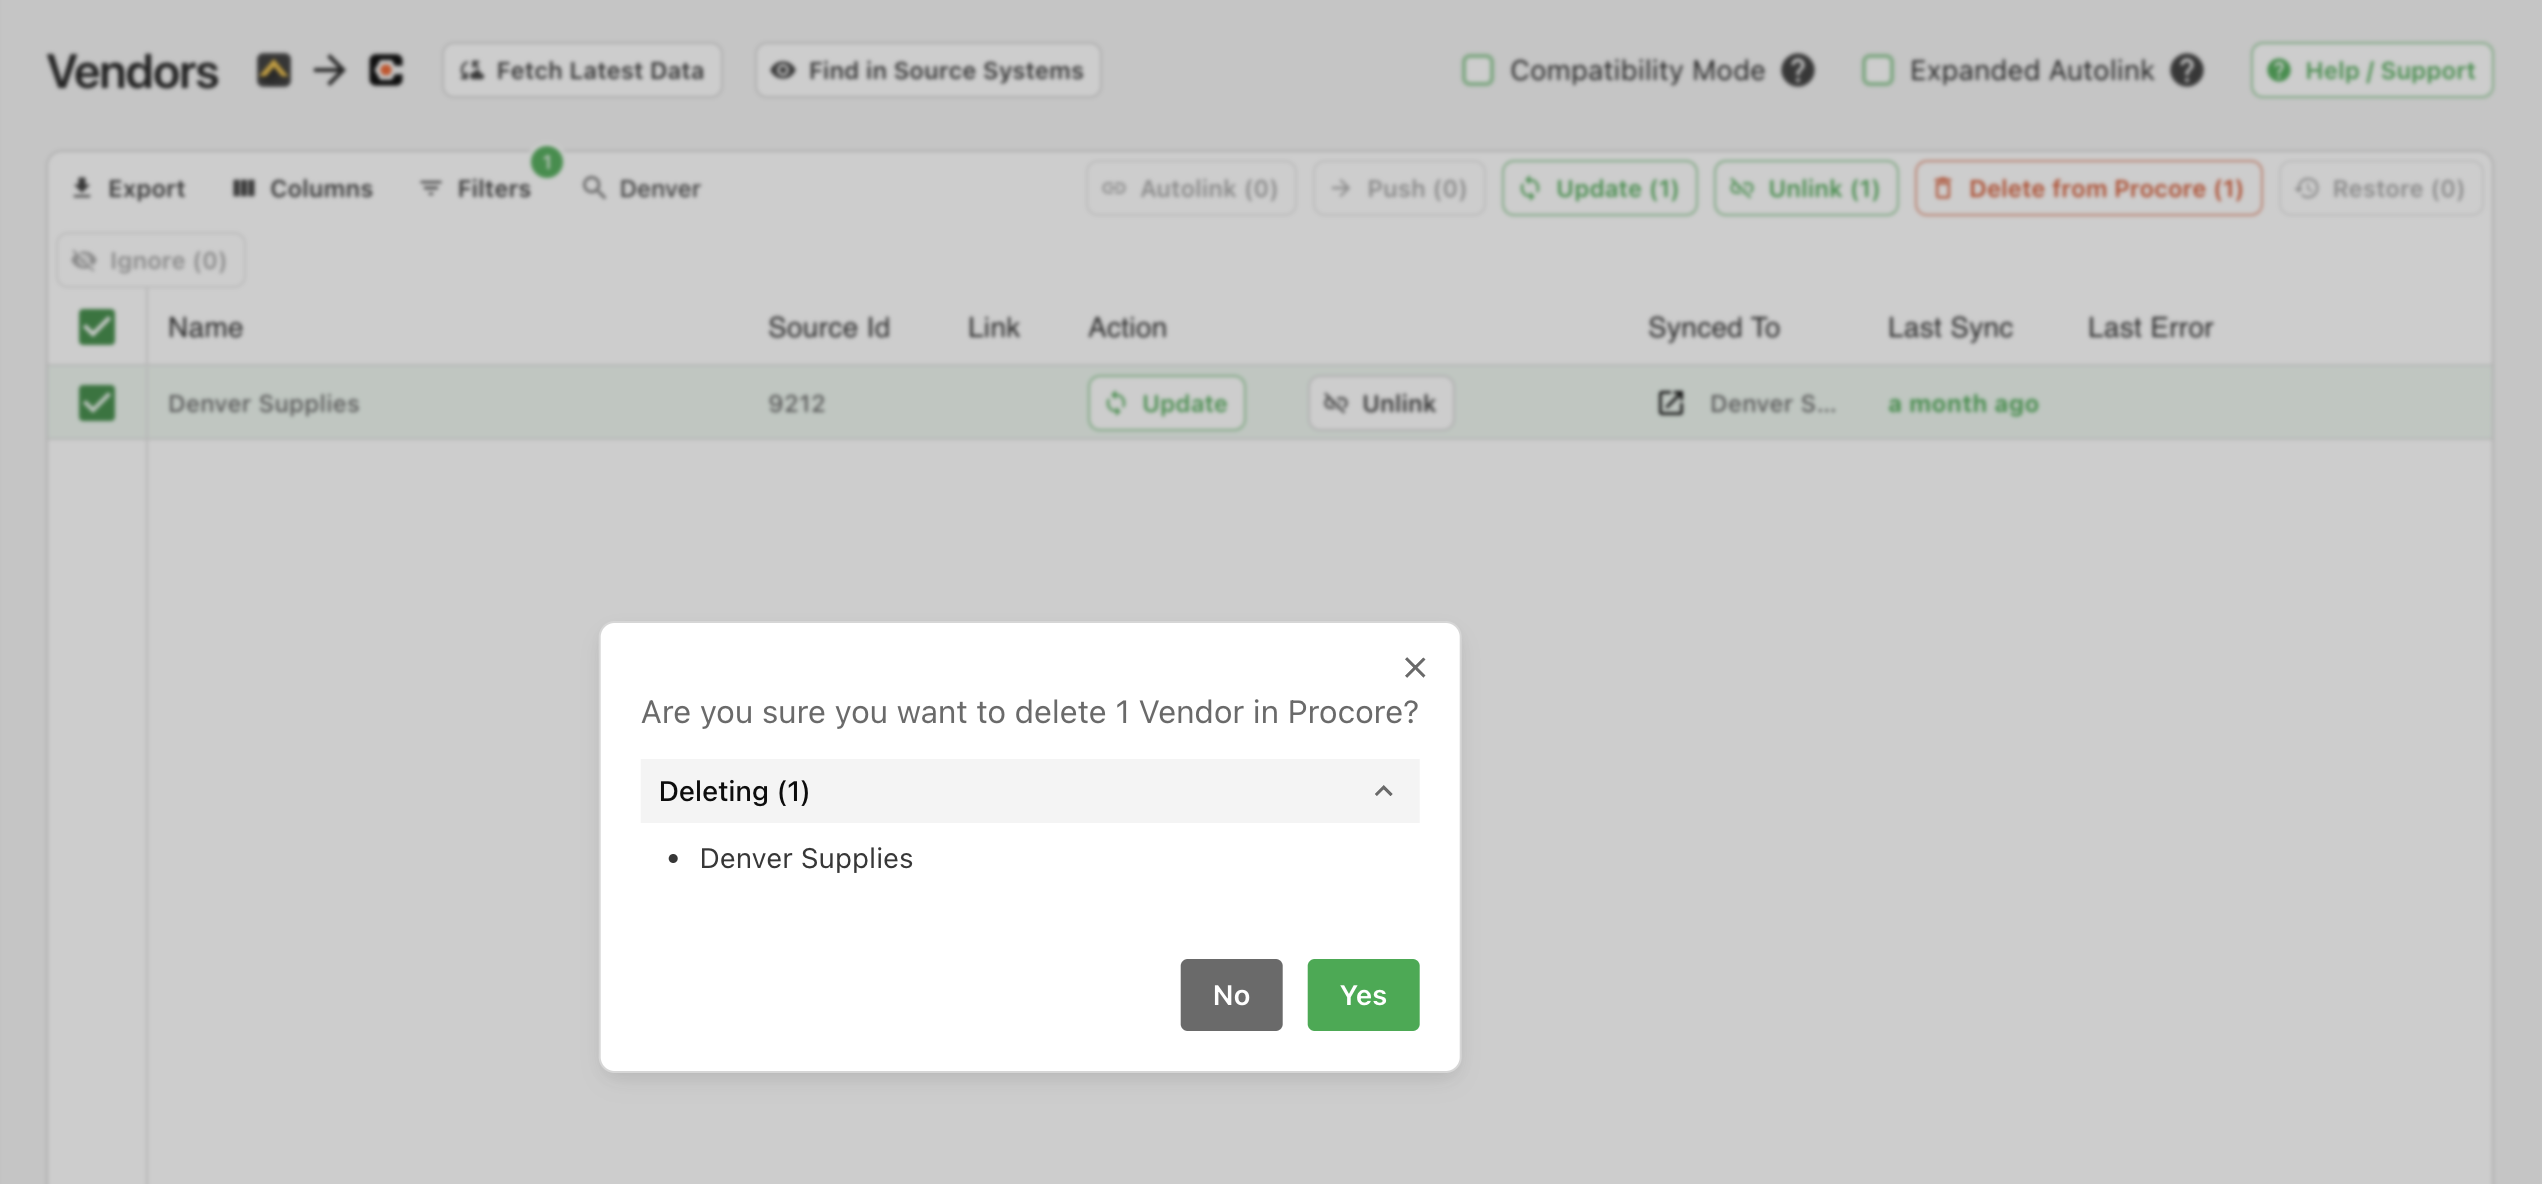
In Agave Sync, select those Vendors and press Delete from Procore:
-
The Vendors will now appear as syncable but will appear under the Inactive Companies tab in your Procore Company Directory:

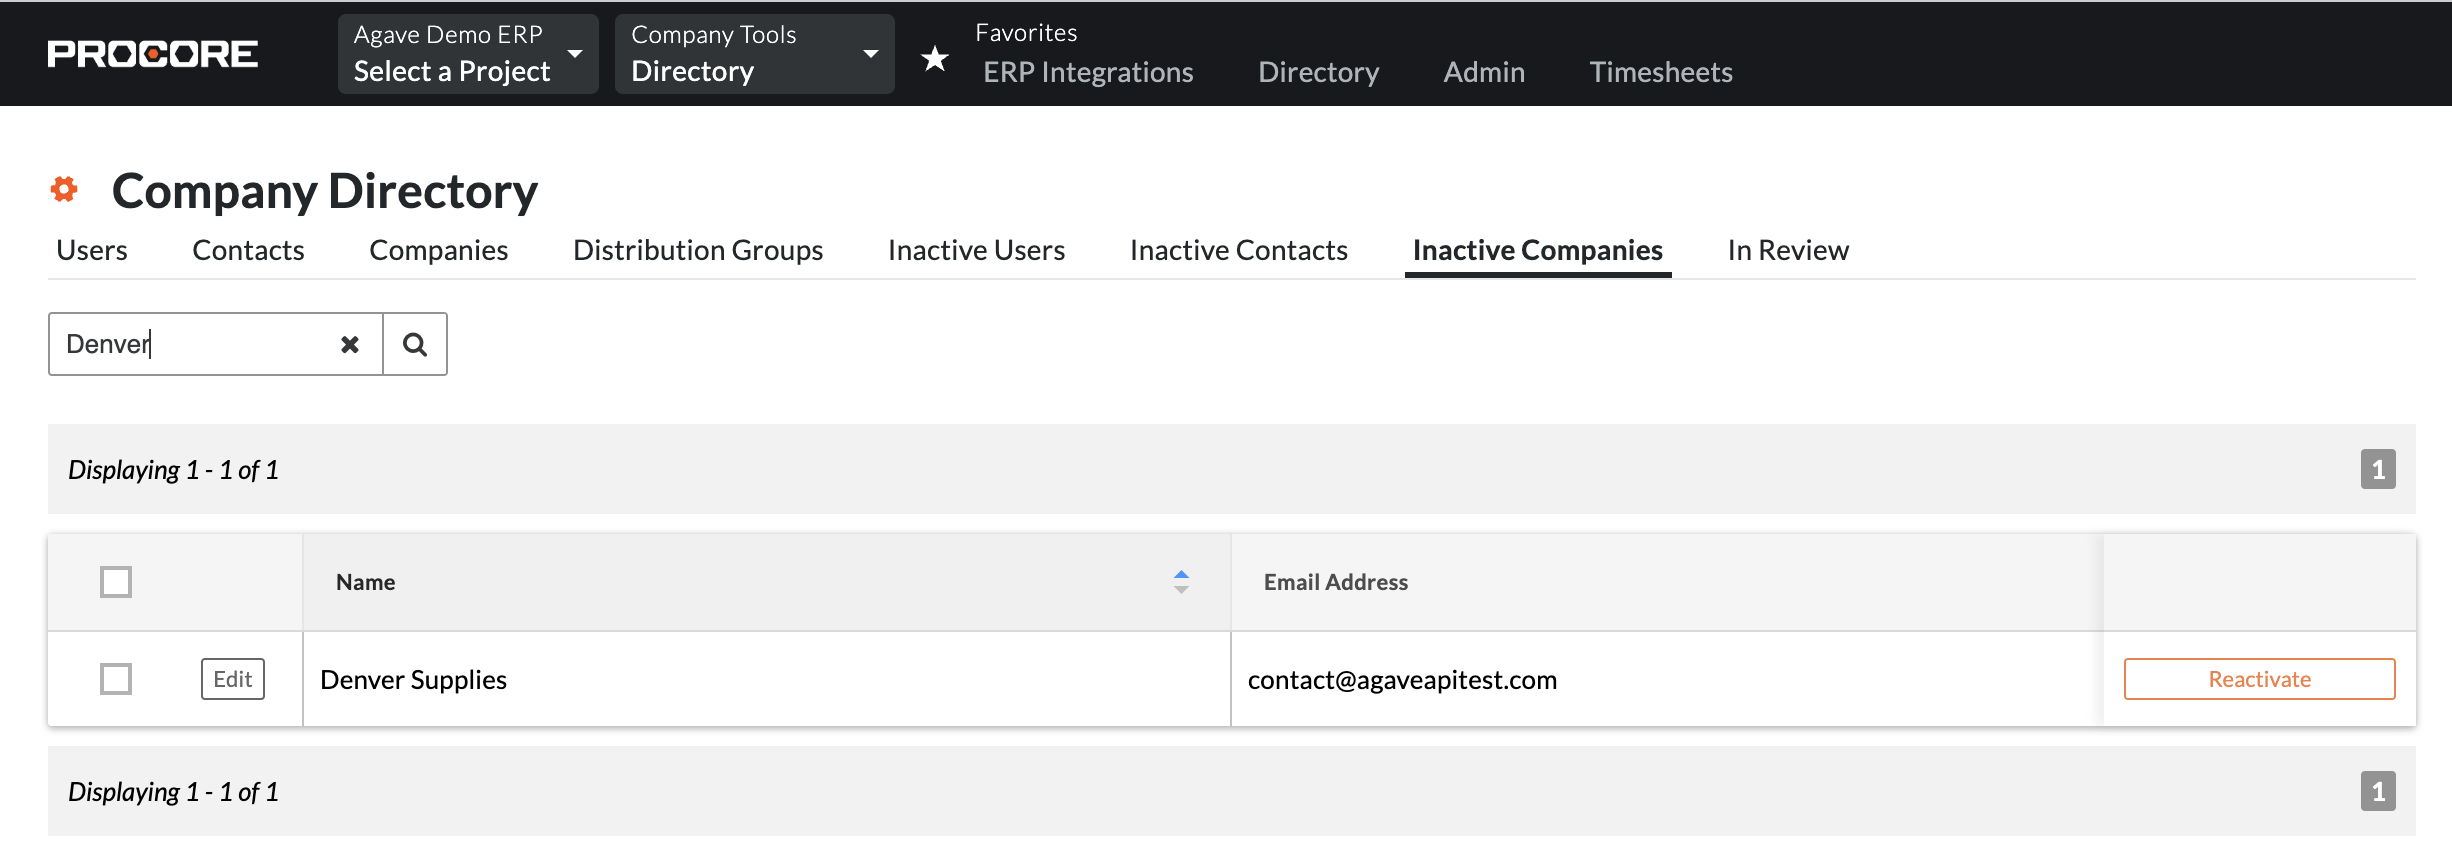
Agave Sync will deactivate the Vendors in Procore, but not in the original source system (i.e. your accounting system).
Can I exclude certain Vendors from syncing to my PM System?
Yes. If you prefer not to sync specific Vendors to your PM System, Agave Sync allows you to apply filters to exclude them.
Common examples of Vendors that you might want to exclude include:
- Inactive Vendors
- Specific Vendor Categories (e.g., Employees, Telecom Companies)
- Vendors not used in the ERP for several years
Let your Agave Account Manager about the filters you’d like to apply, and they will update your sync configuration accordingly.
Enabling Vendors Sync to Foundation
Installation
Exporting Vendors to Foundation requires the a combination of Foundation's FSI Importer, ODBC access, and the Agave Connector.
Step 1: Download the FSI Importer
-
Log in to the Foundation Client Portal.
-
If you are a Foundation Cloud (Hosted) Customer, go to Resources-->Downloads. If you are a Foundation On-premise Customer, go to Resources-->Software Releases.
-
Select the download icon for the FSI Importer.
-
Once the file has downloaded, go to your Downloads folder and open the .exe file. This will start the installation process for the FSI Importer.
-
Finish the installation process.
Step 2: Set up ODBC access for the FSI Importer
To use the FSI Importer with Agave Sync, you will need to set up Microsoft Open Database Connectivity (ODBC) access to your Foundation instance.
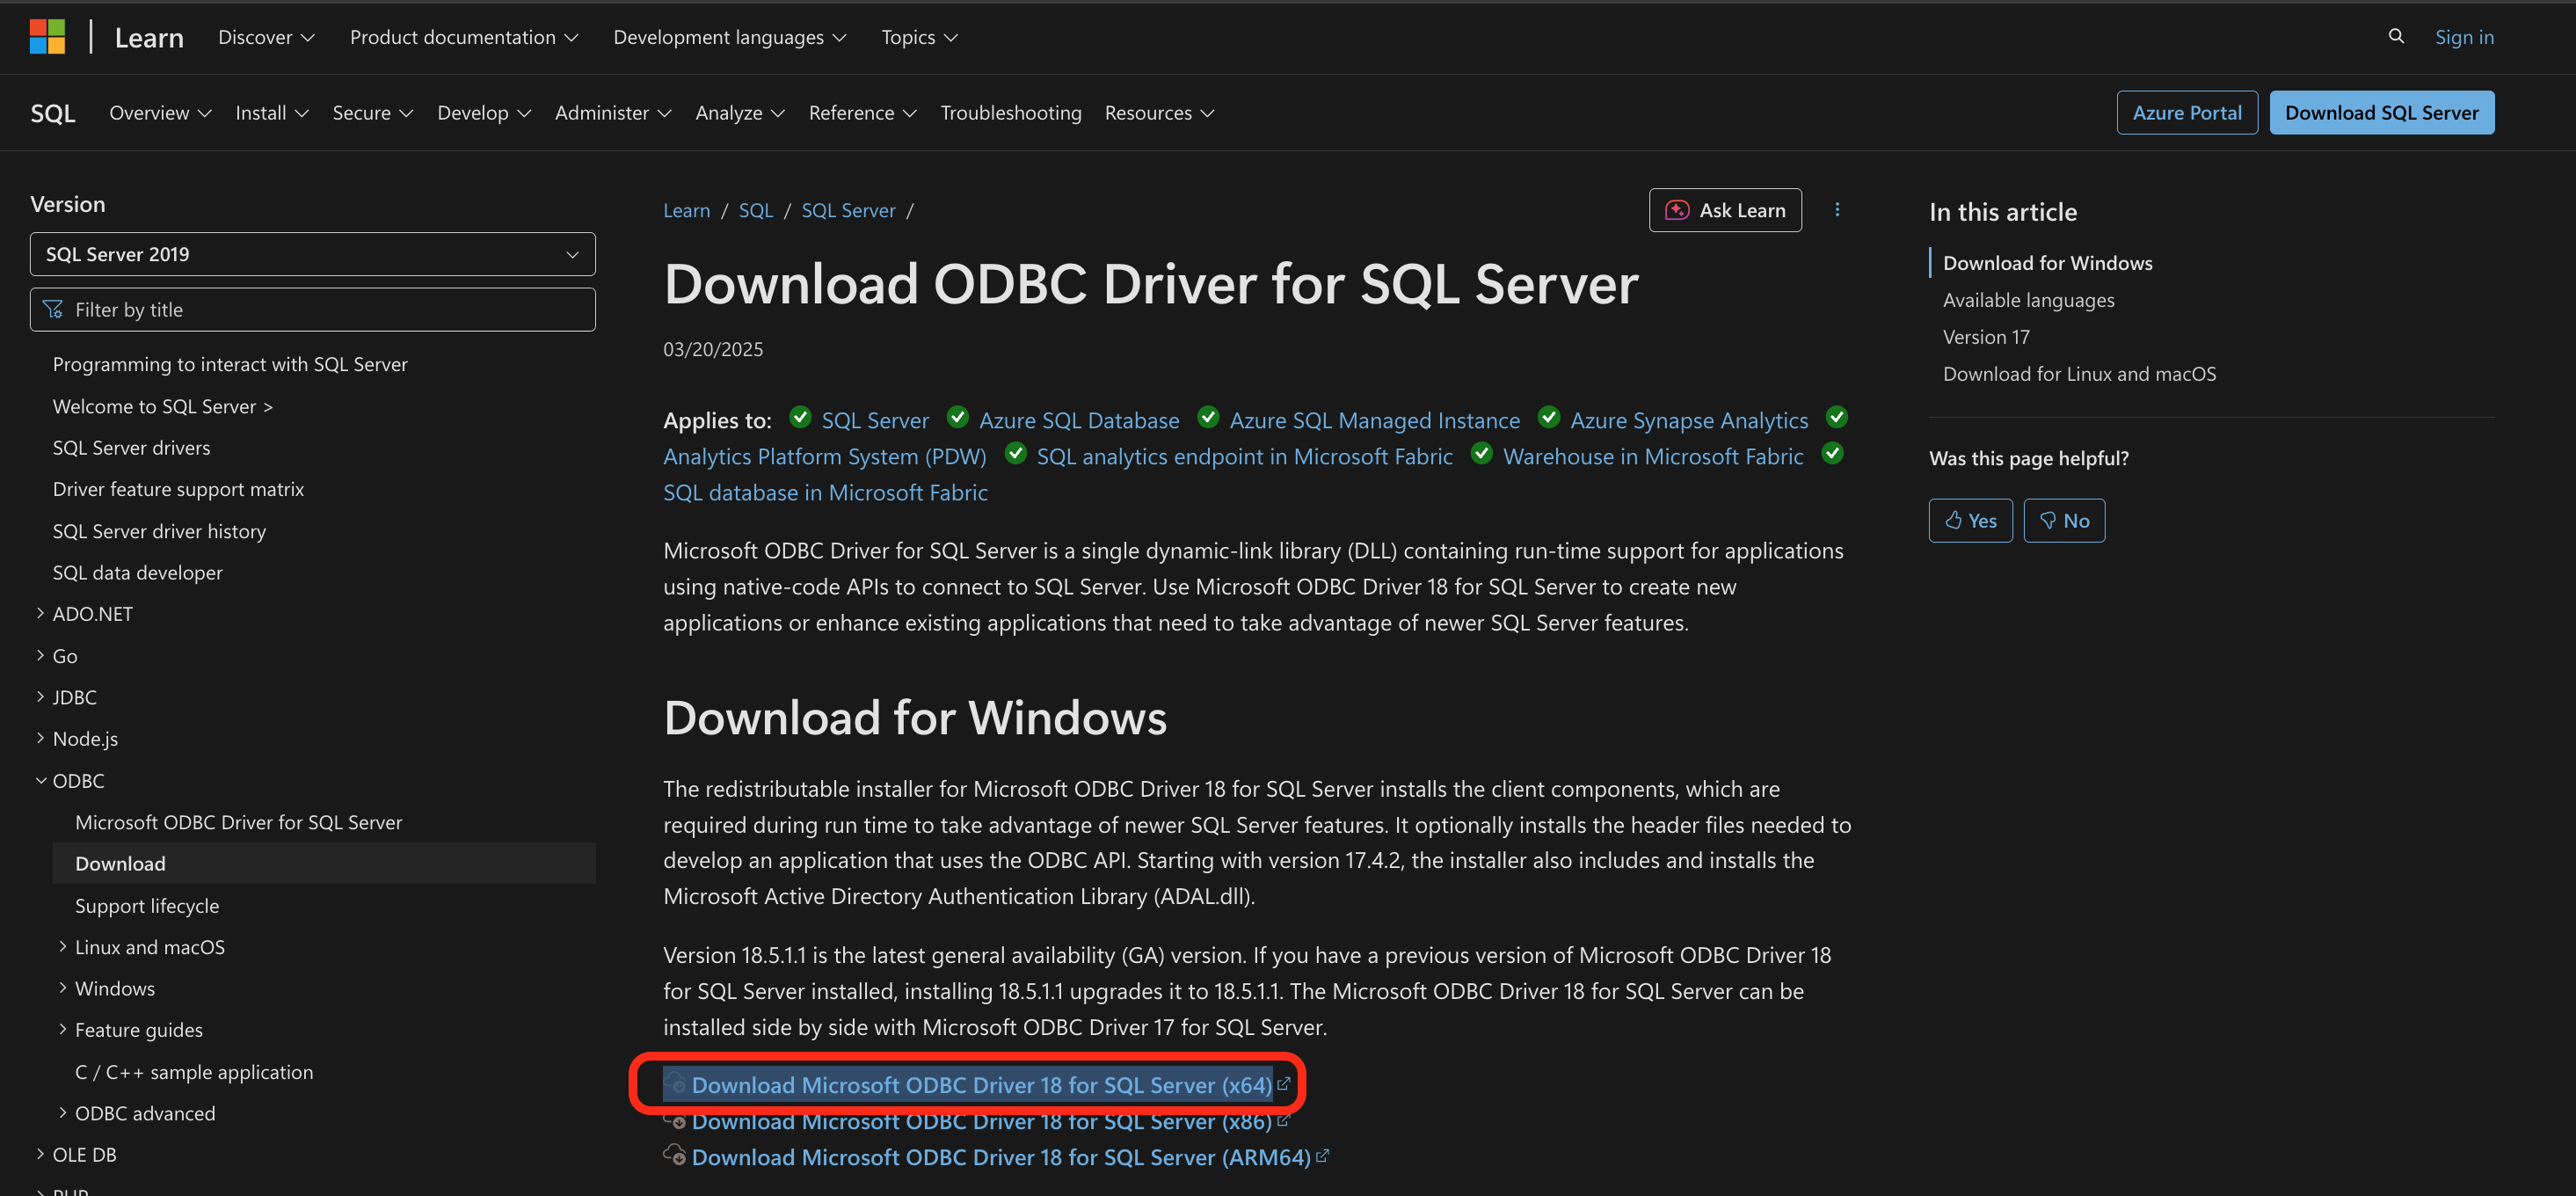
Download and Install the ODBC Driver
- Go to the Microsoft website and download the Microsoft ODBC Driver for SQL Server 18 (x64)
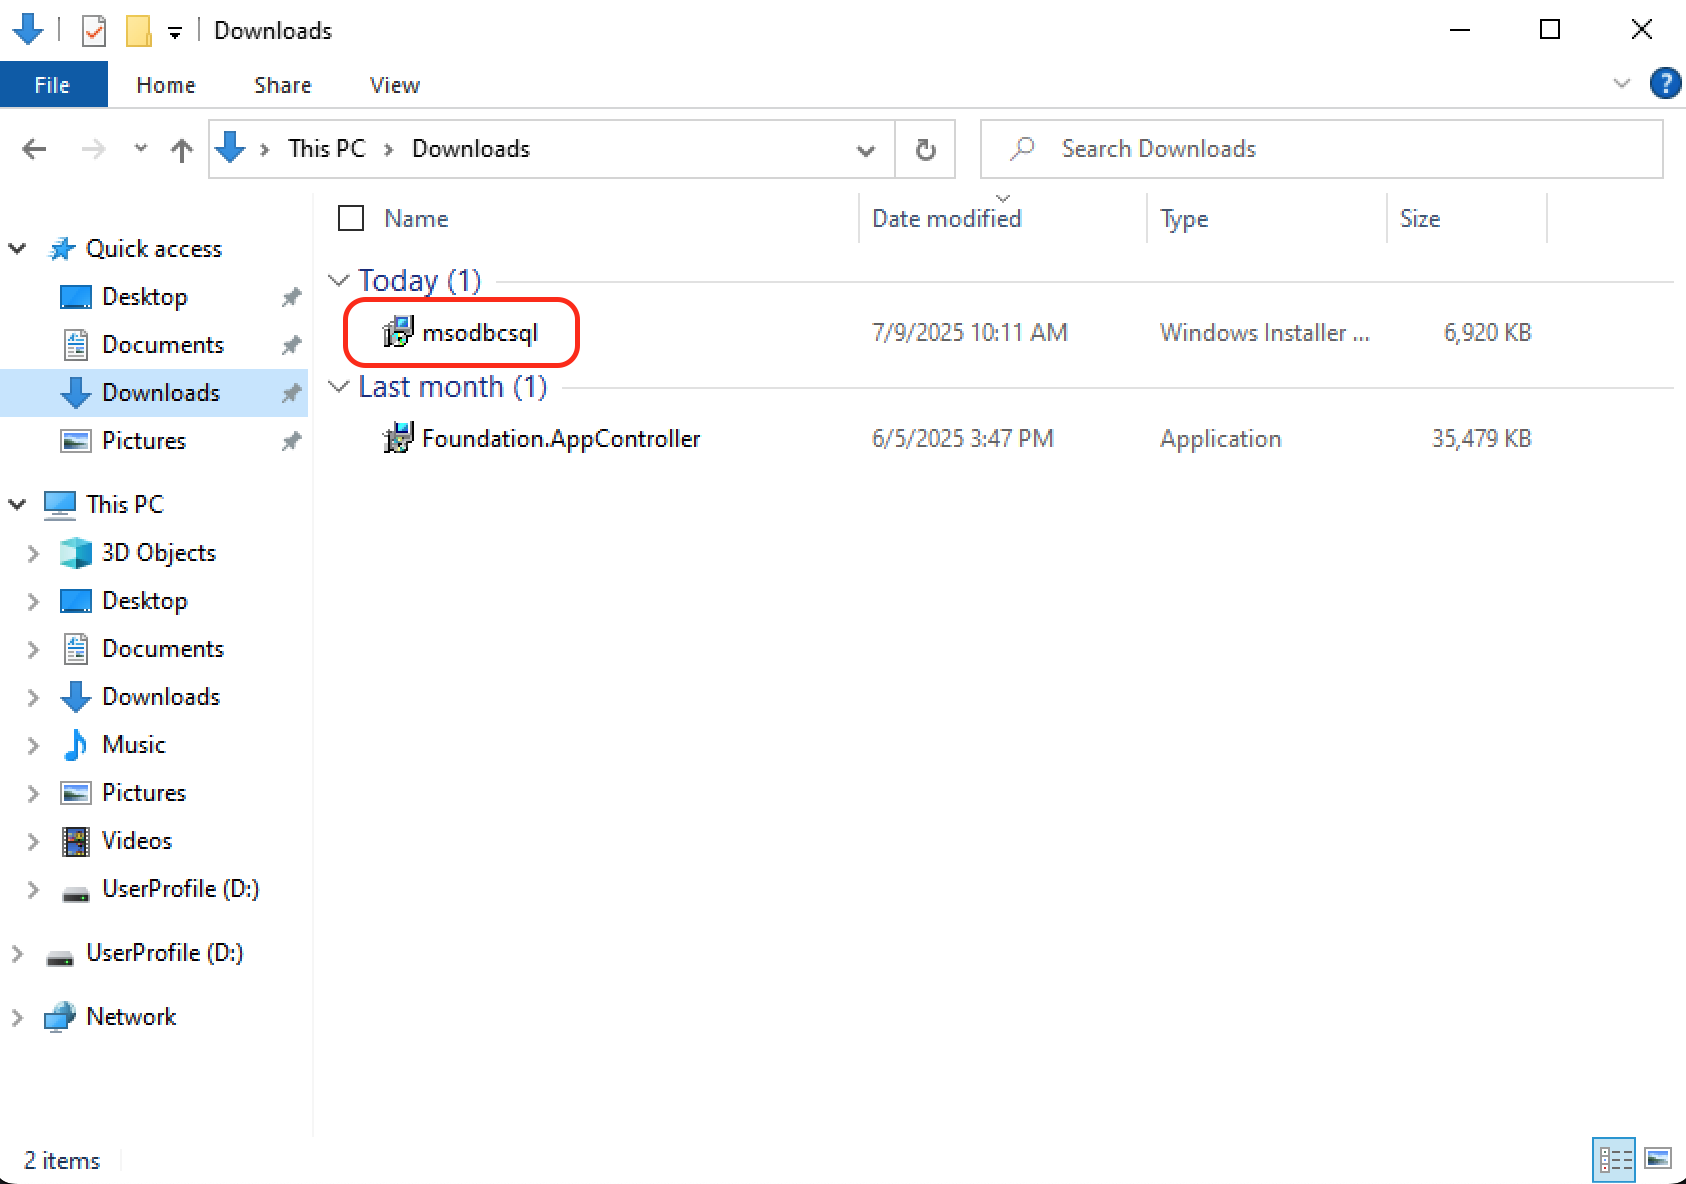
- Double click on the msodbcsql.msi file that you downloaded
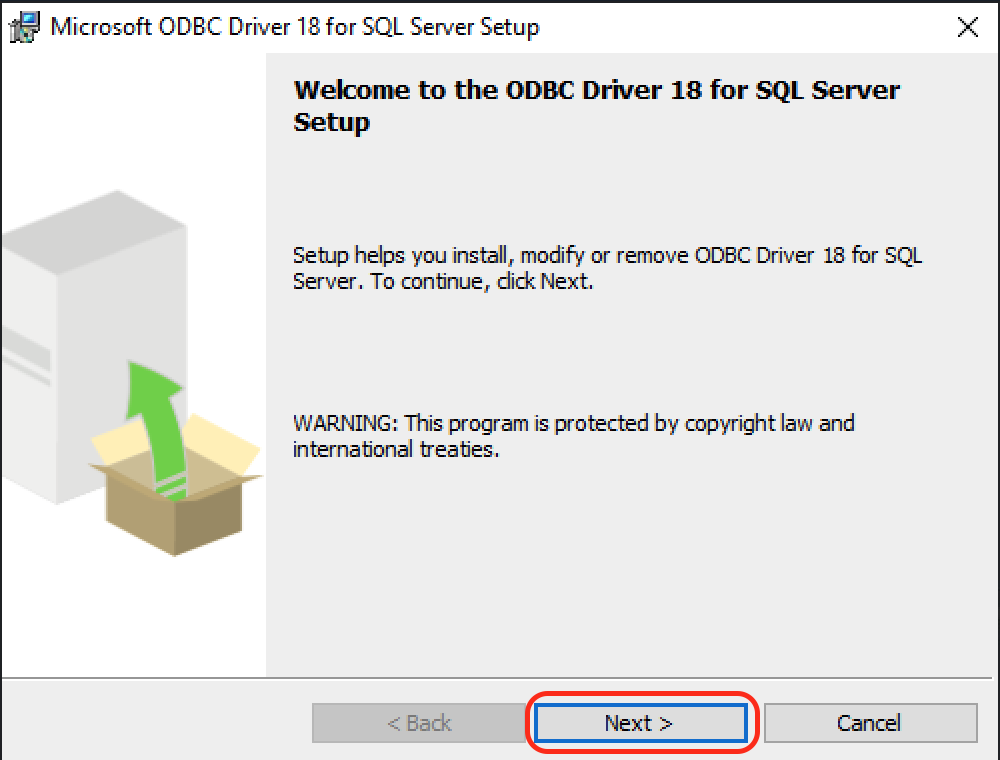
- This will open up an Installation Wizard, click Next
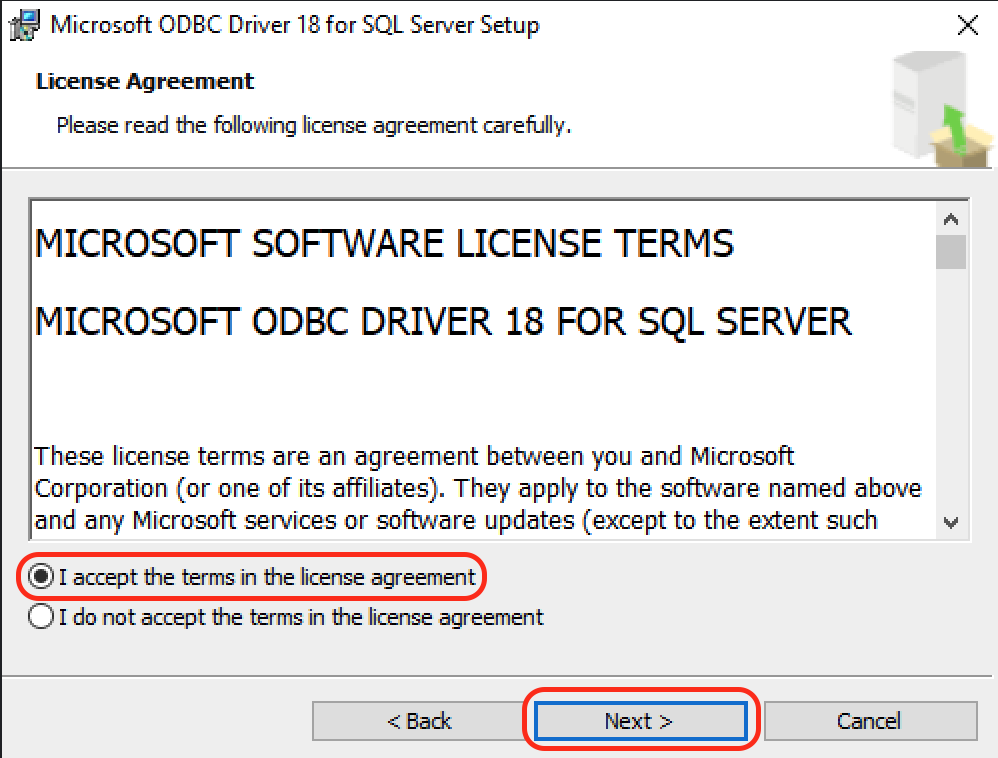
- Accept the agreement terms, click Next
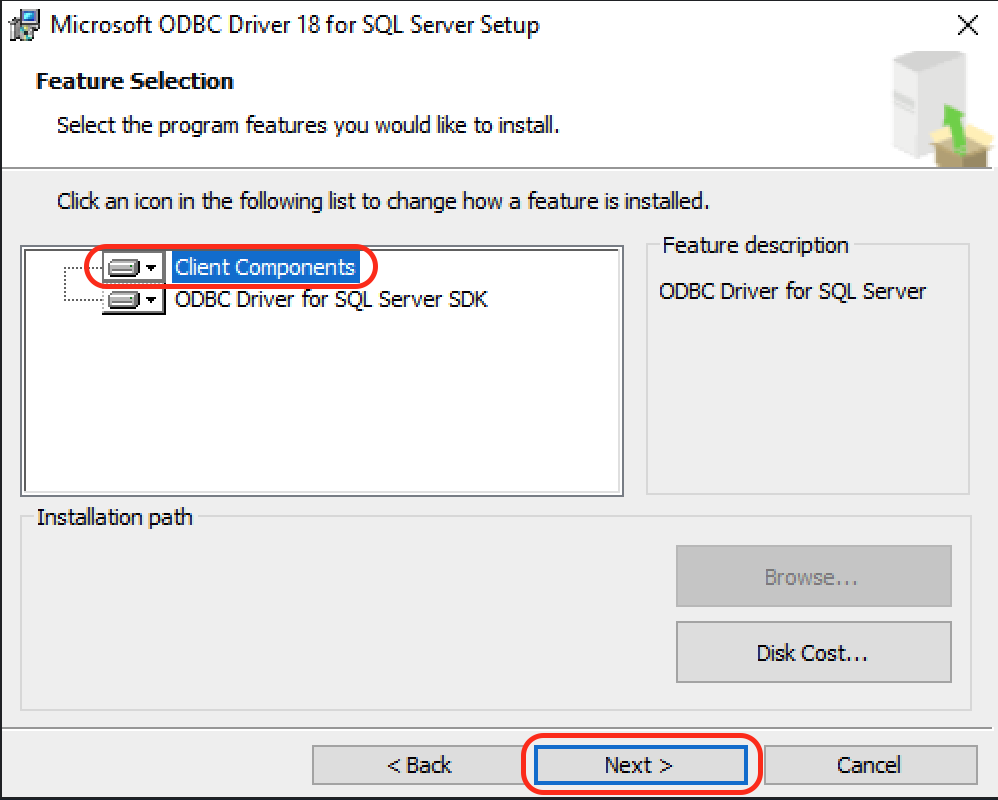
- Select Client Components, click Next
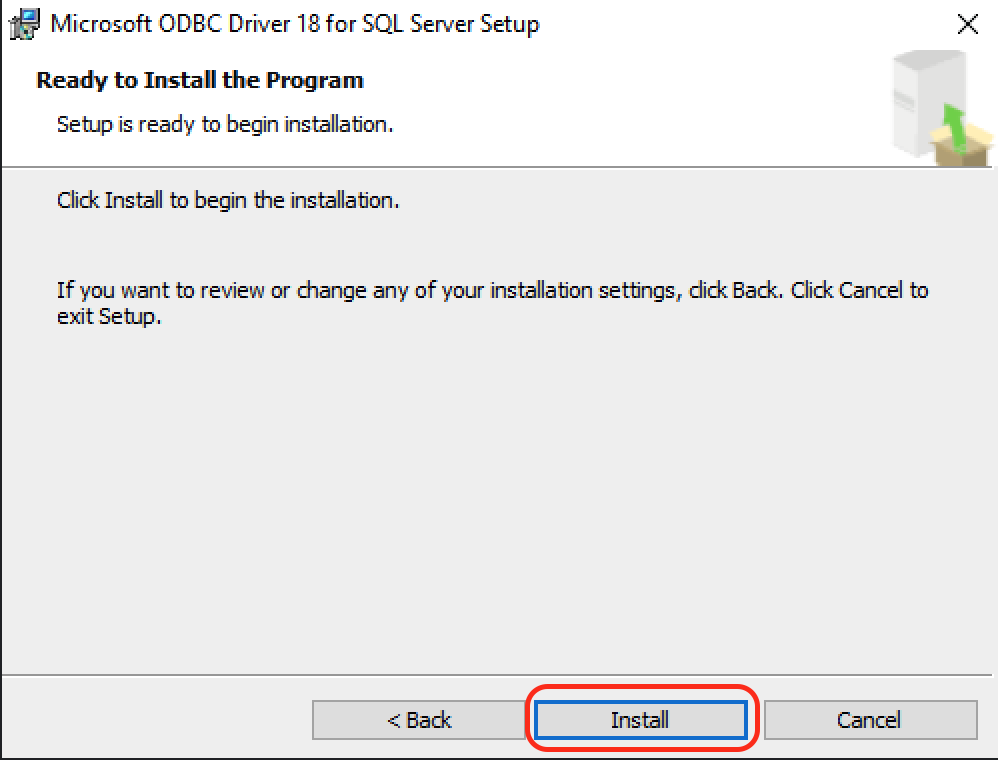
- On the next screen, click Install
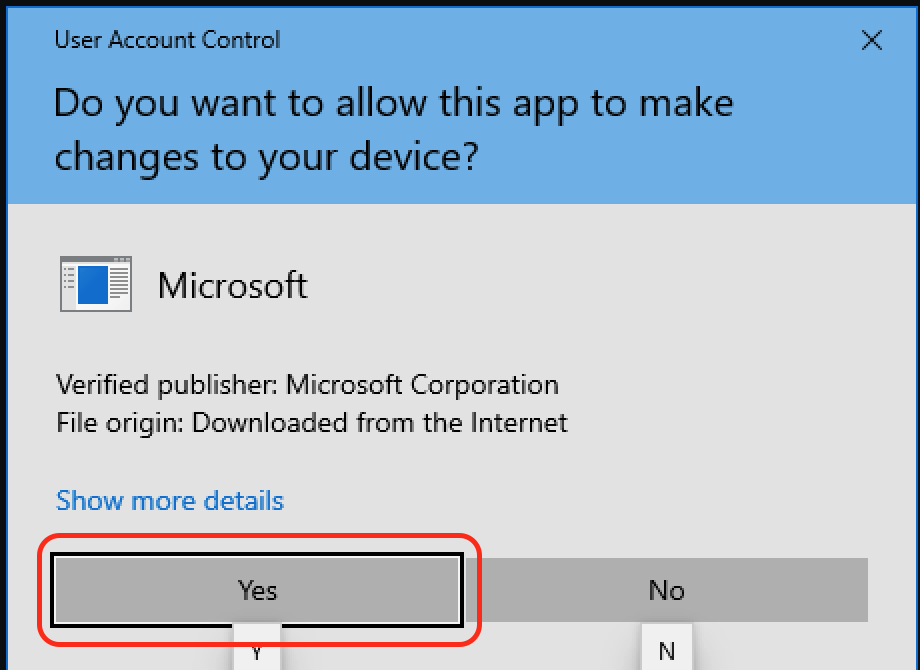
- You may encounter a User Account Control prompt, click Yes
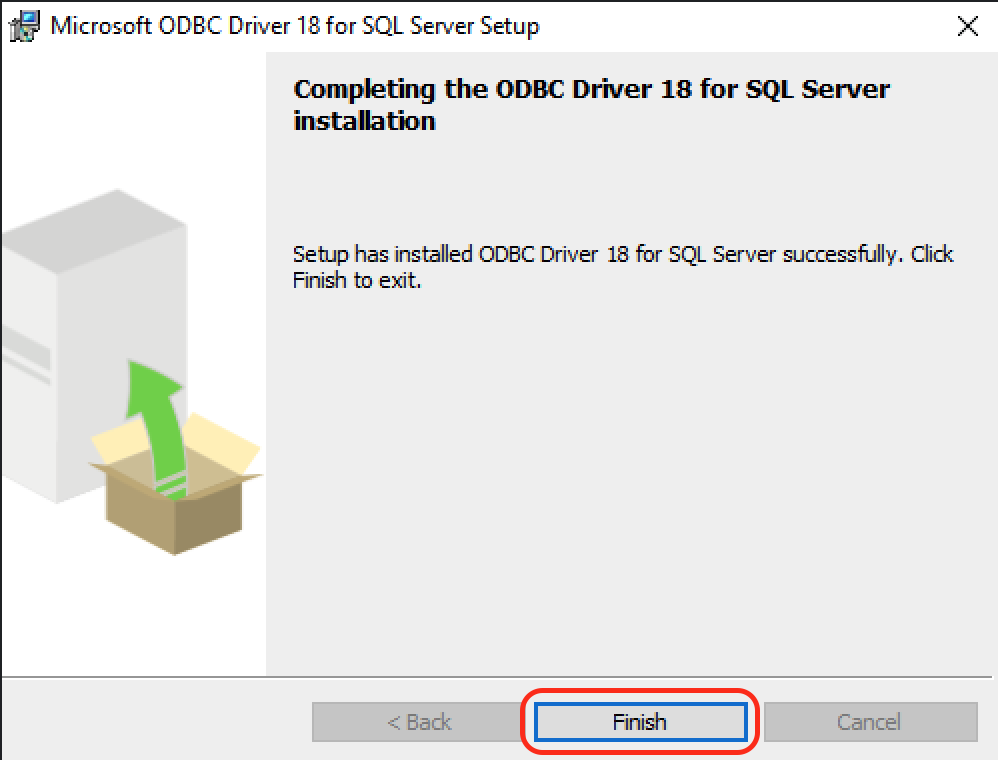
- Click Finish to complete the installation of the driver
Configure the ODBC Driver
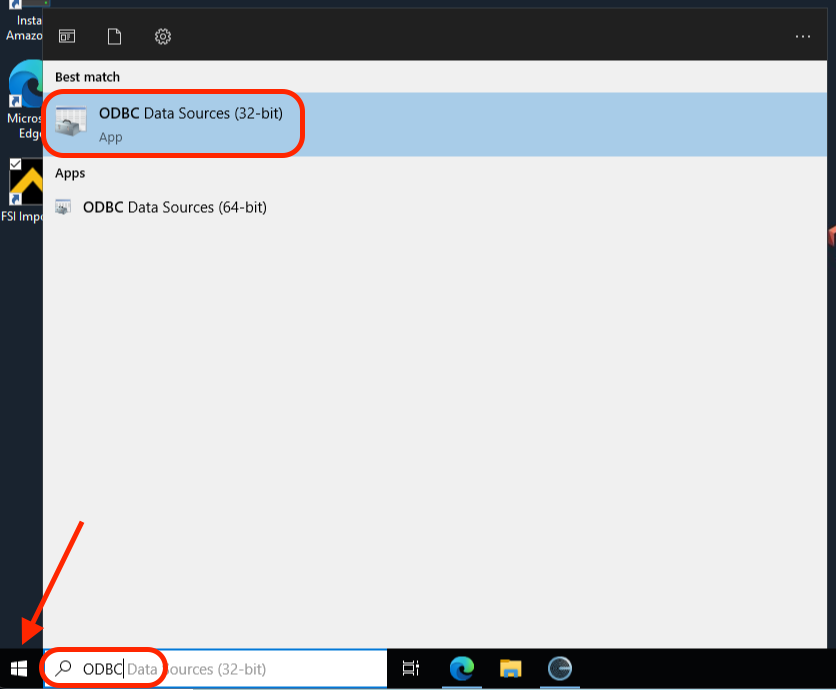
- Open the Start Menu and search “ODBC”, then open the ODBC Data Sources (32-bit) application
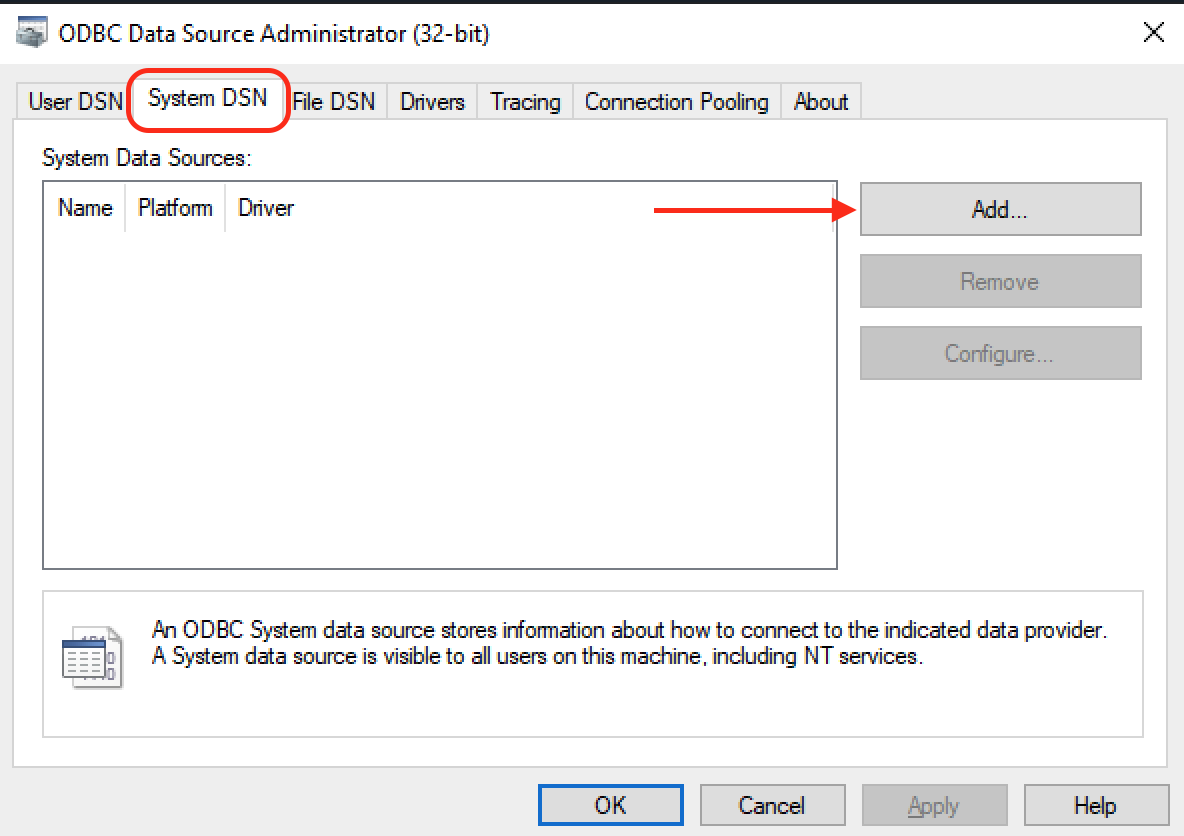
- Switch to the System DSN tab, click Add
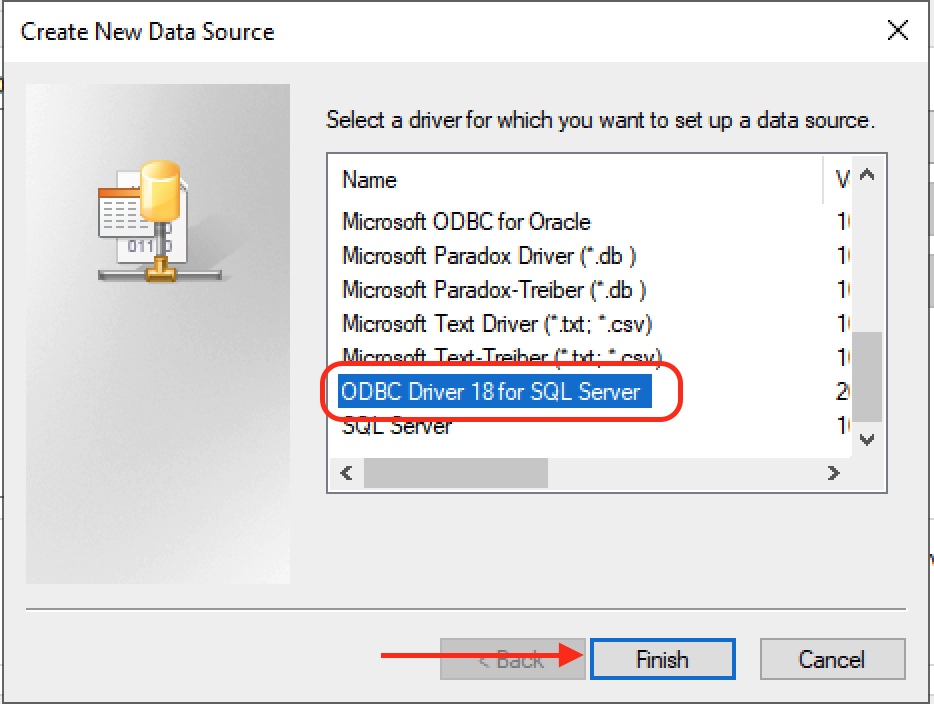
- Select ODBC Driver 18 for SQL Server, click Finish
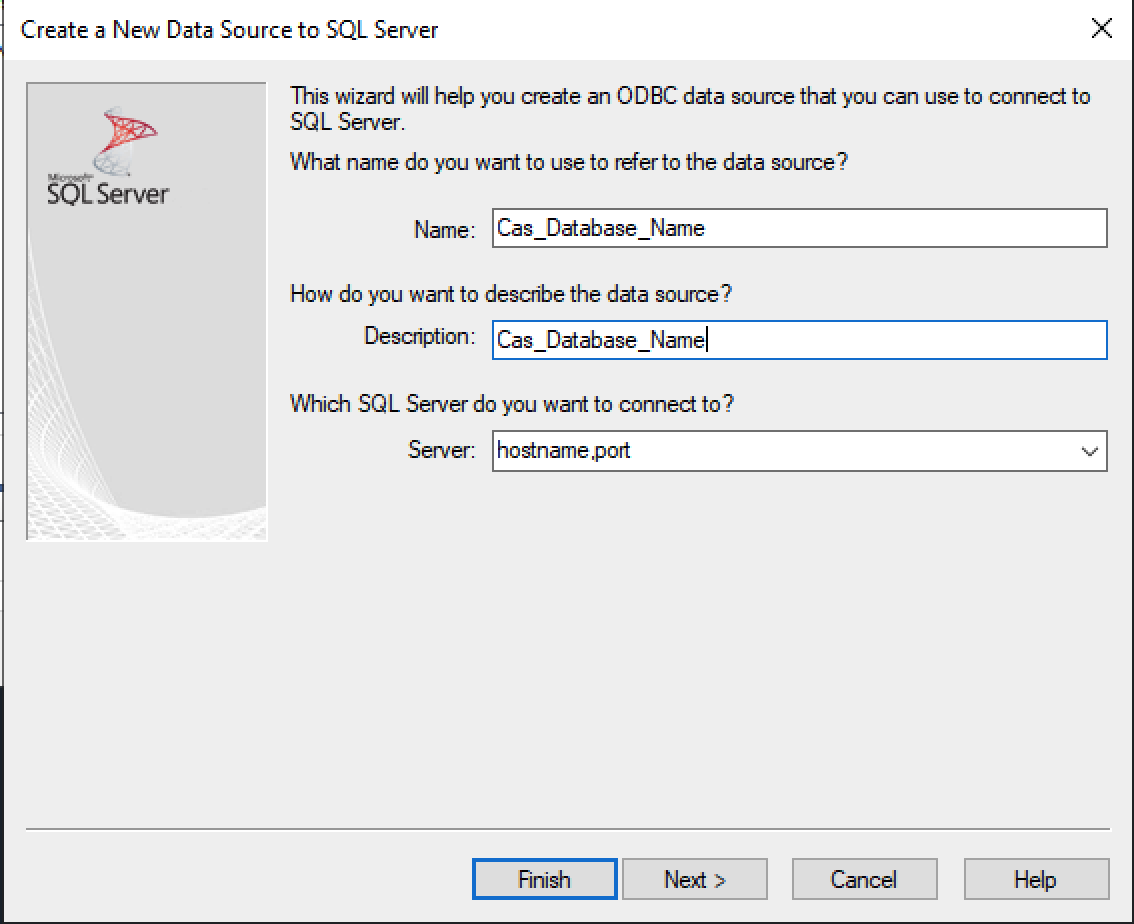
- In the Name and Description fields, enter the name of your Foundation database (usually looks like
Cas_xxx). You will also need to enter the hostname and port for your Foundation server in the Server field.
- For hosted Foundation instances:
sql.foundationsoft.com,9000 - For on-premise Foundation instances: enter the hostname (this will be a domain or IP address) and the port that we are using to connect to your server (e.g.,
xxx.xx.x.xx,4243)
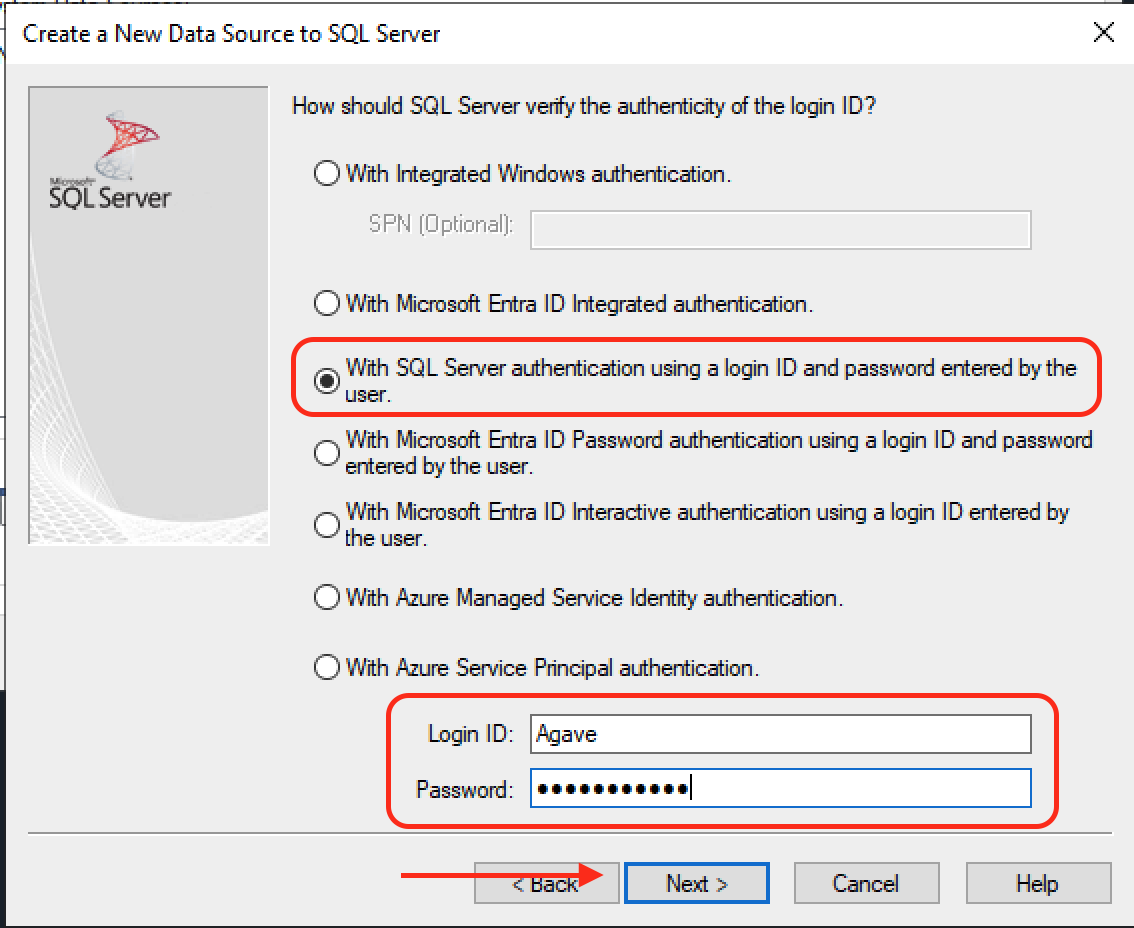
- Select With SQL Server authentication using a login ID and password entered by the user, then enter the credentials for the Agave user you created into the Login ID and Password fields, click Next
- Check the Change the default database to checkbox, then type in your Foundation database name. Also, uncheck the Use ANSI nulls, paddings and warnings checkbox, click Next

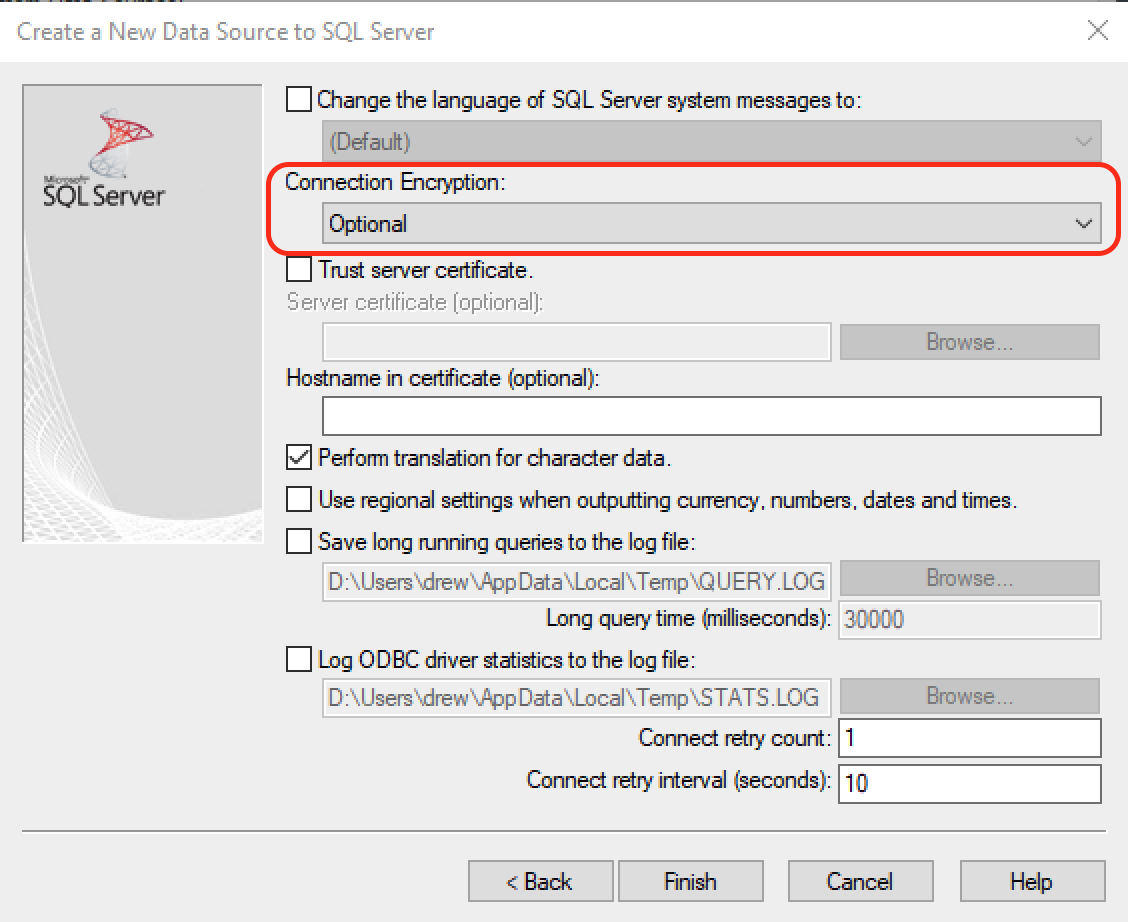
- In the Connection Encryption dropdown box select Optional, click Finish
- Click Test Data Source... to test the connection
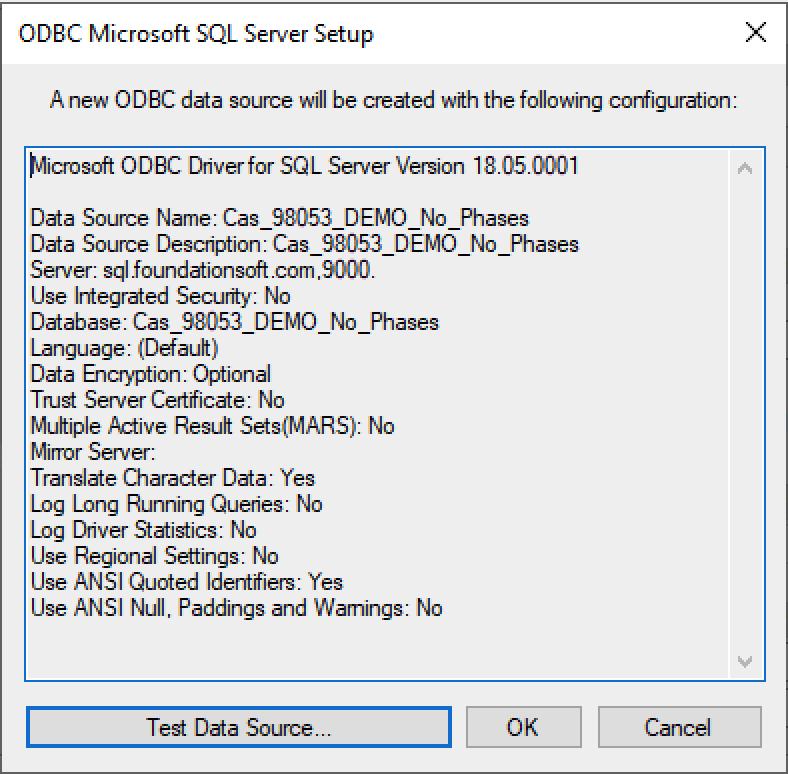
- If the test was successful, you will see this message, just click Ok to save the configuration
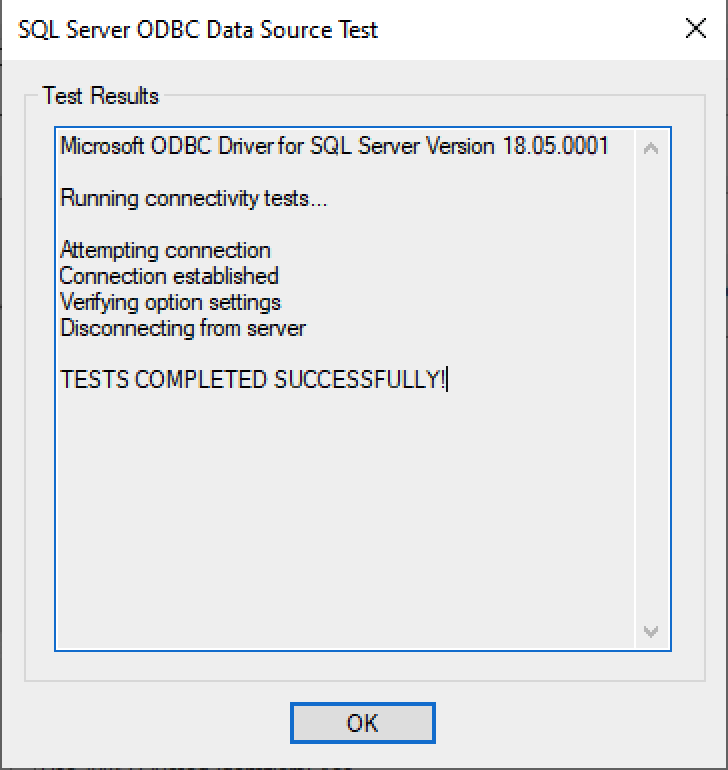
- If the test was unsuccessful then it is likely due to an incorrect password
- If you've confirmed that the password is correct, then complete steps 1-8 again and retry the connection test
Step 3: Set up the Agave Connector
-
Ask your Agave Account Manager for a link to the Agave Connector. Then download and install it.
-
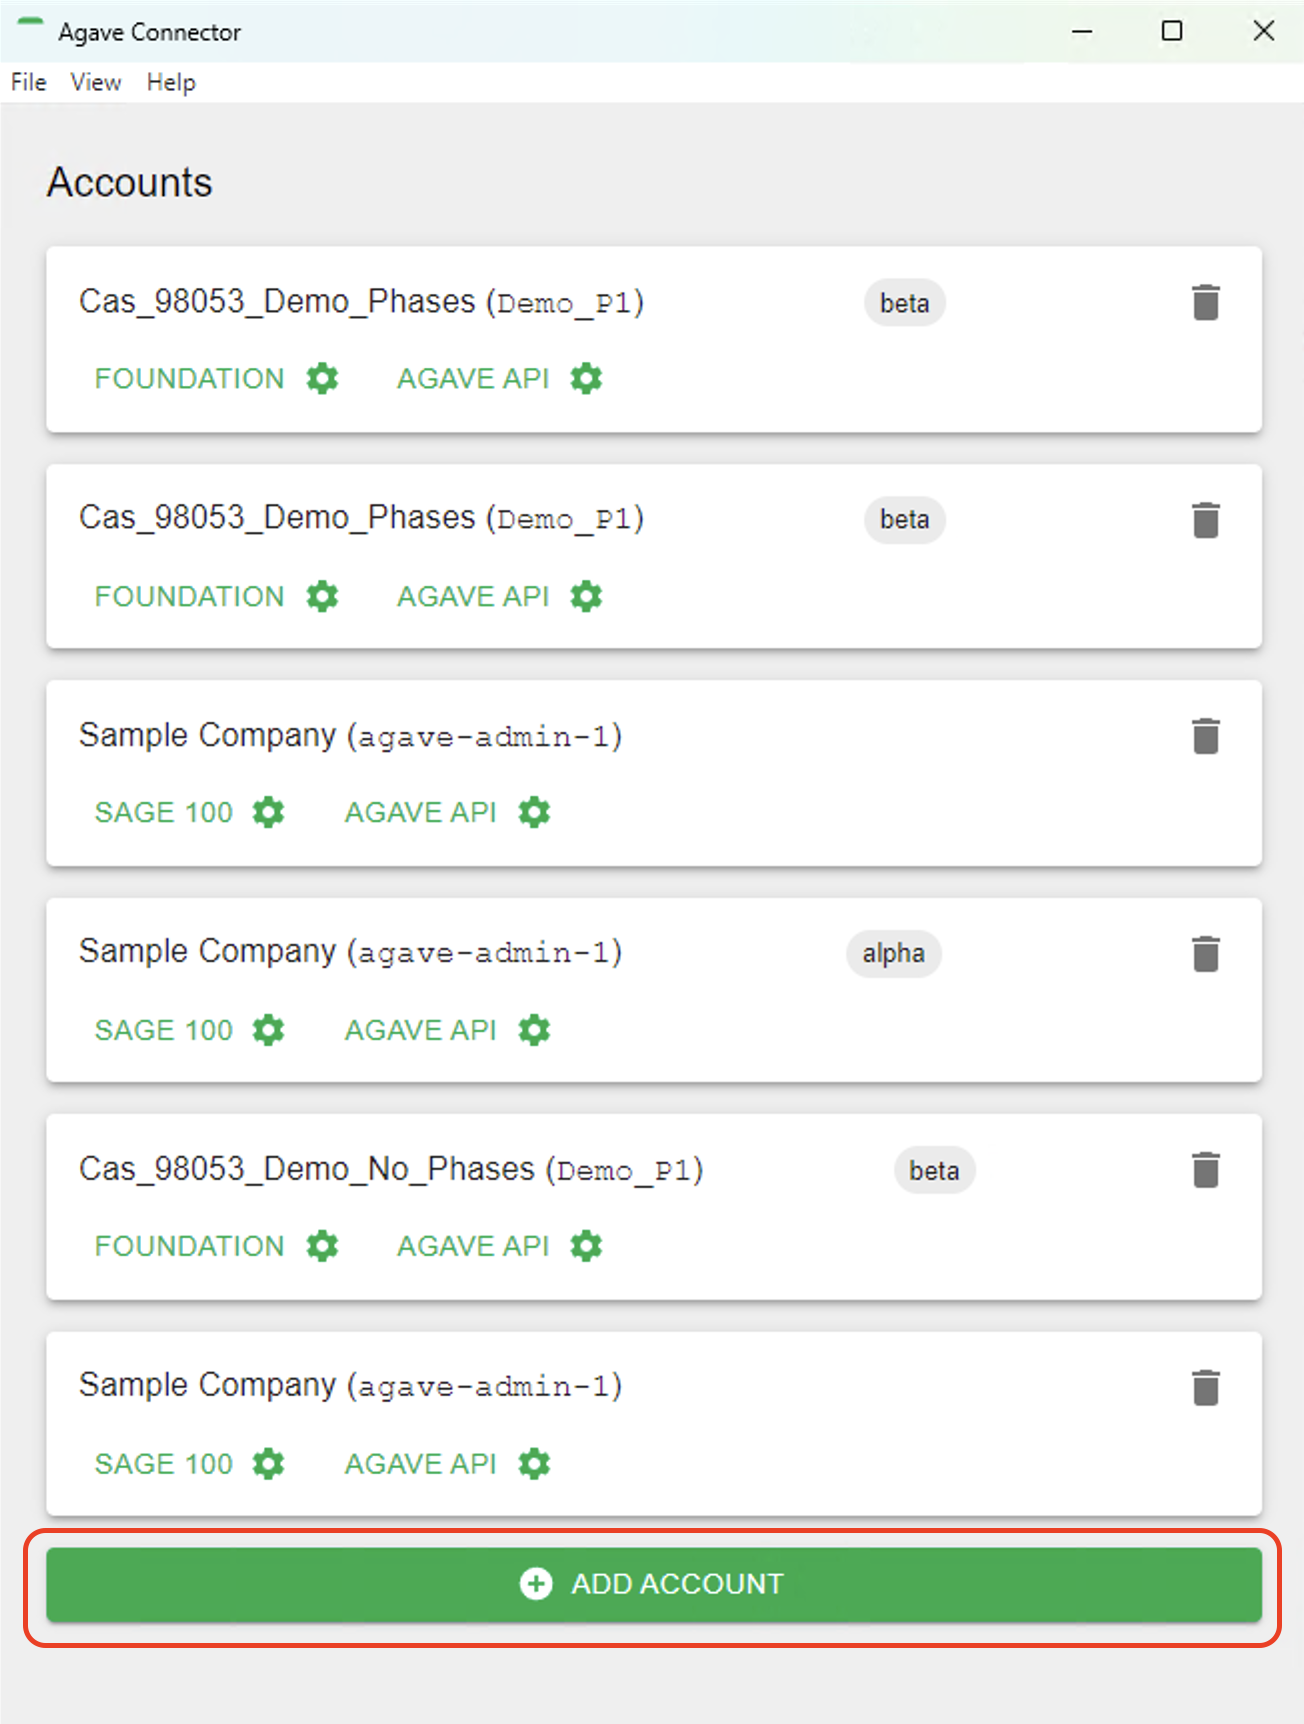
Open the Agave Connector and press Add Account.
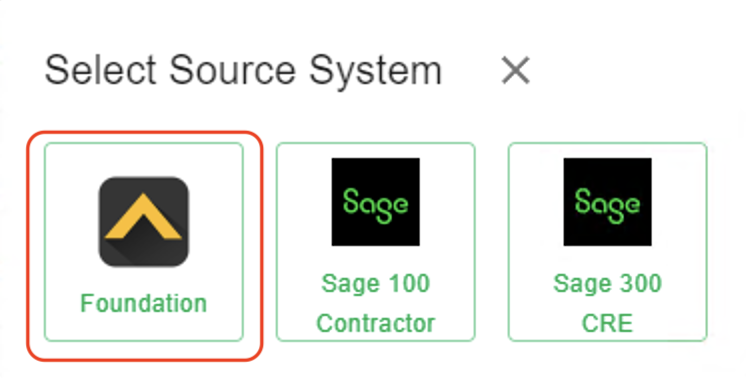
- Select Foundation as your Source System.
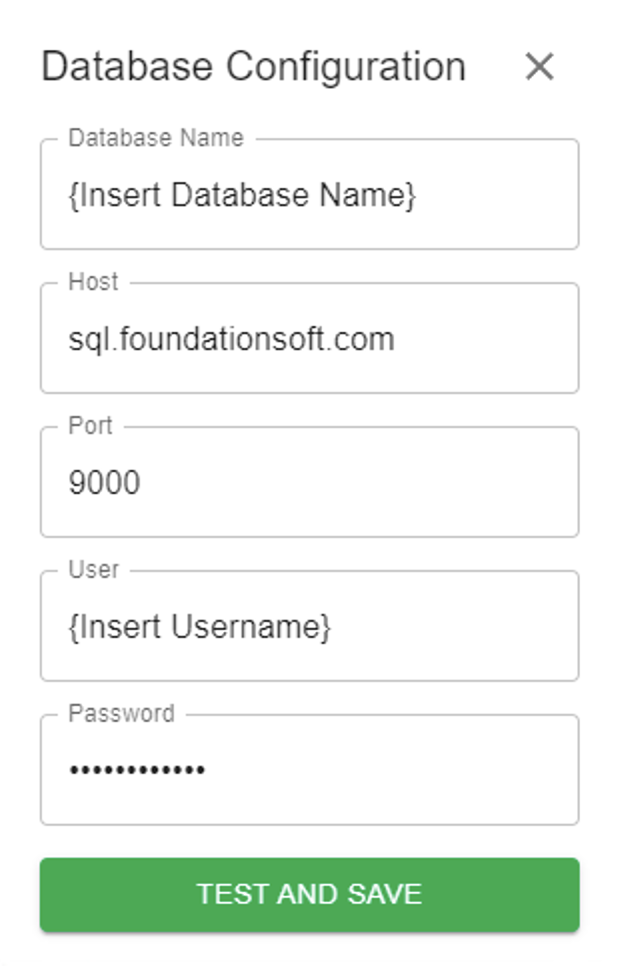
- Input details for your Foundation user you use in Agave Sync, and then press Test and Save. Note, these are the same credentials you used for connecting Foundation to Agave Sync.
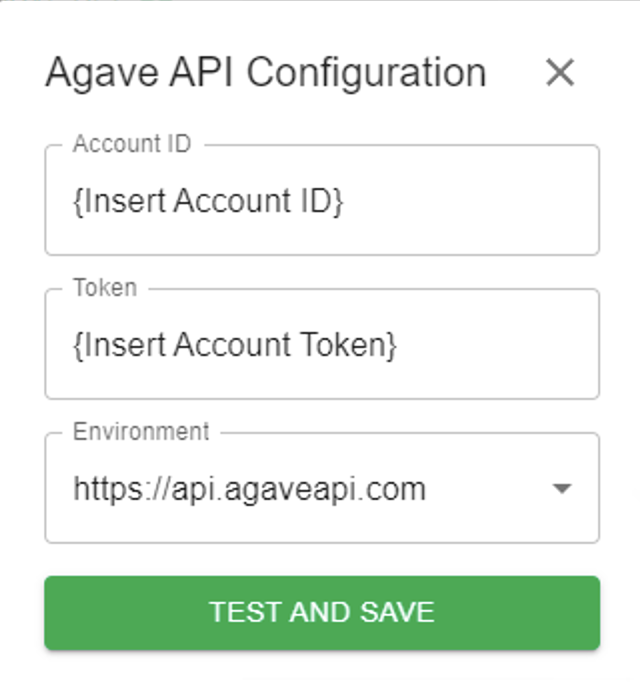
- Notify your Agave Account Manager that you have completed the foregoing step and ask for an Account ID and Token. Input these details in the next screen and then press Test and Save:
- Notify your Agave Account Manager that you have completed the foregoing step. They will then be able to confirm that you can export Vendors to Foundation.
Error: The current user does not have access to encrypt data
Depending on how your integration user is configured, you may encounter: [Foundation Error] [0] The database in use is encrypted, but the current user does not have access to encrypt data.
To resolve this, enable access to encrypted data for the Foundation user attached to the integration:
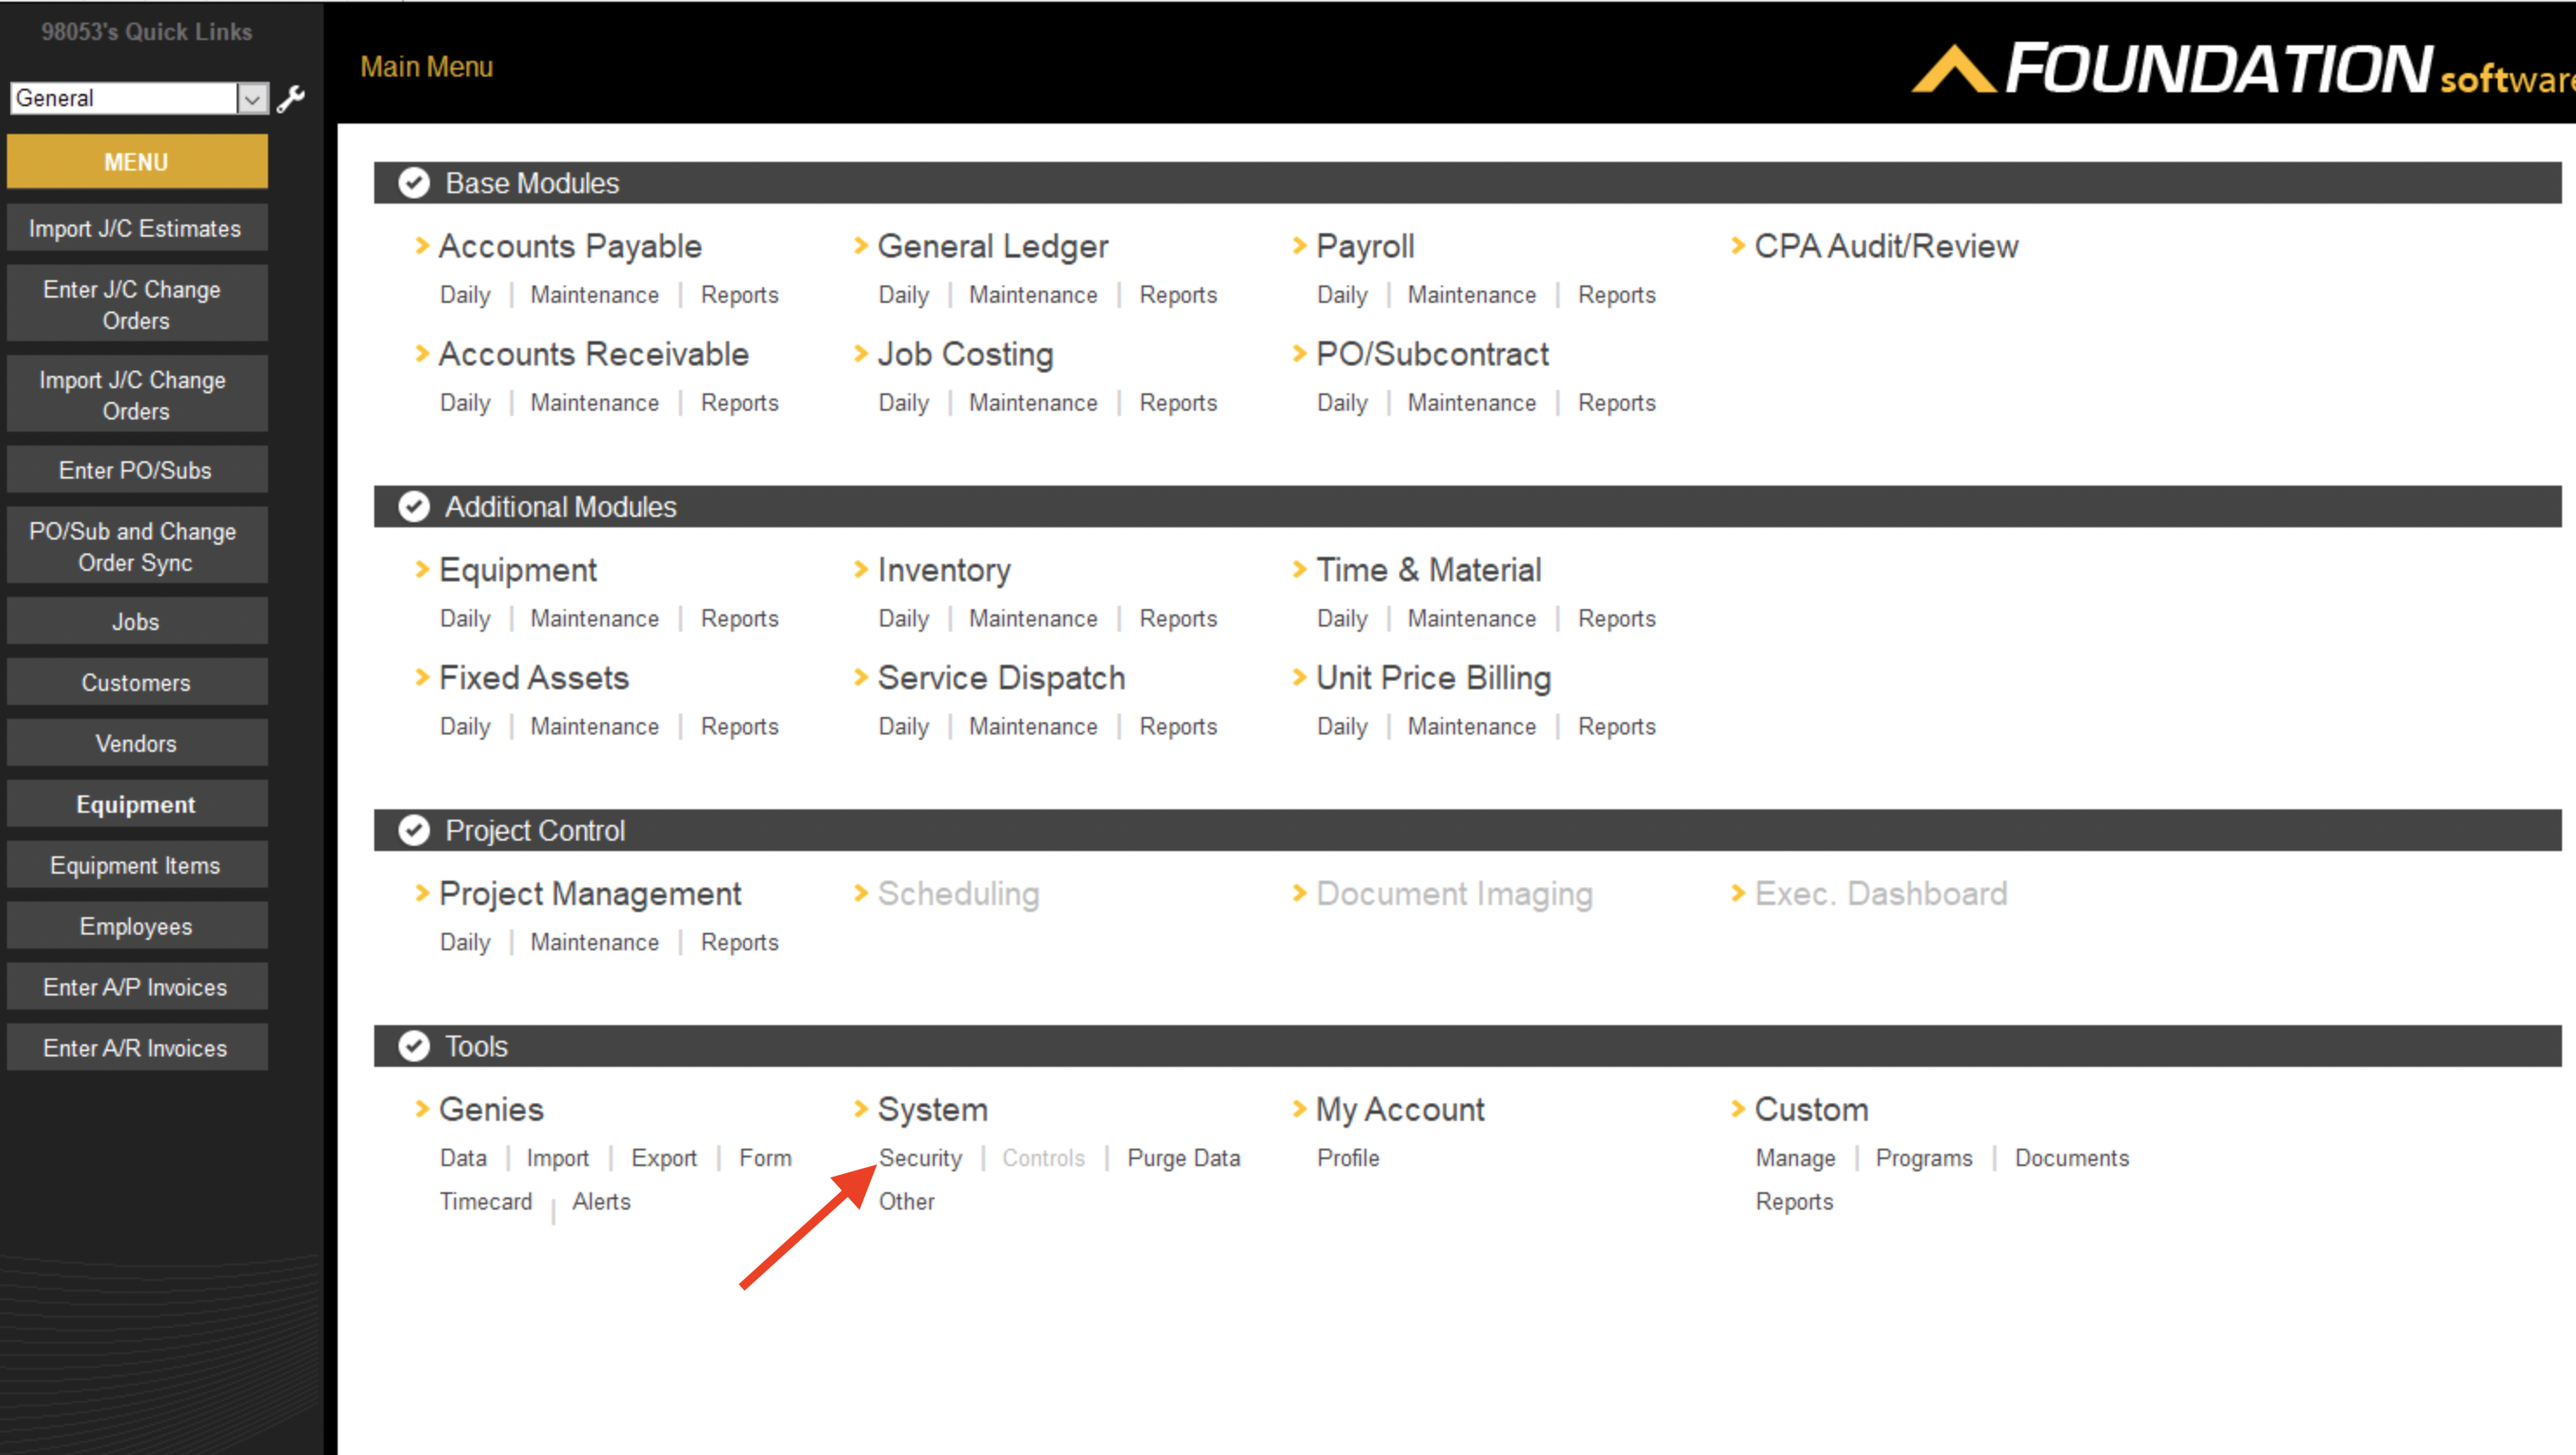
- Navigate to System > Security in Foundation:
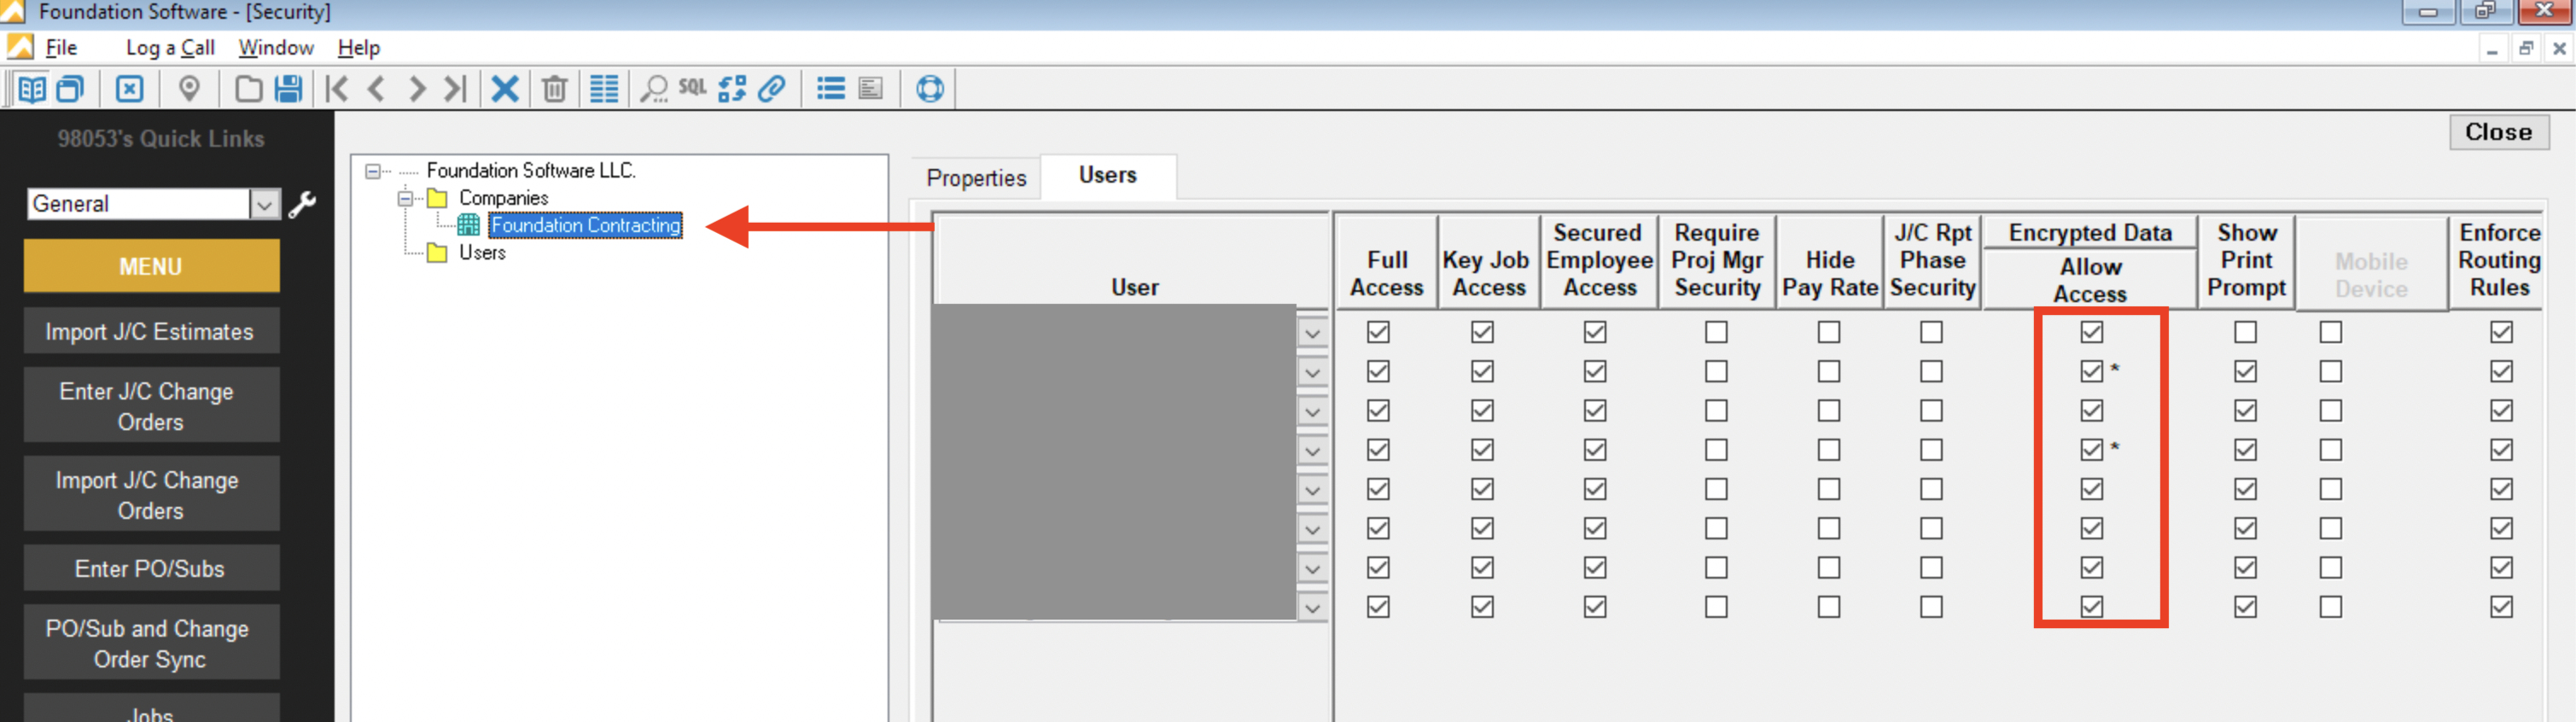
- Select the relevant Company in the left sidebar, and ensure the checkbox for allowing access to encrypted data is checked:
- Save these settings. If the "Save" button freezes, try clicking "Close" and then "Yes" to saving changes.
Do I need to have the FSI Importer installed for Vendor syncs to work?
Yes. We leverage the same technology that Foundation uses for the FSI Importer as part of this sync.
Do I need the Agave Connector to be opened/minimized for Vendor syncs to work?
Yes - we recommend keeping it open and minimized.